Best Apple Pie
This pastry is something special and if you master it, and it’s not hard to get right, I’m sure it will become a much-loved way of making pastry for more than just apple pies.
There are lots of DO NOTS in this recipe and those are to ensure that this flaky pastry is actually flaky.
As always, scroll to the Tip Box before baking the pie, not because it’s a difficult dish to make, but because that’s where all the hints for the best apple pie are sitting.
Now, it you want to use this pastry for a savoury pie, it works great for that too, the only change needed, is to leave out the sugar.
I like the apples in my pie to still have a bit of a bite and a little bit of tartness to them.
Now I always say, use your favourite apples to make your favourite apple pies, and I stick to that, but if you can get your hands on some granny smiths, then they’re great as they don’t go mushy when cooked in the pie.
Where I am, all I have to do in order to make one of my apple pies, is to stop by the side of the road that drives through the village I live in, get a bag out of the boot and go scrumping.
If you get a chance to do the same, I thoroughly recommend it.
Go on, give it a go and enjoy your sweet life!

A lid and bottom of buttery flaky pastry
What You Need
Pastry
250g Plain Flour
250g Cold Butter
3 tbsp Castor Sugar
Pinch of Malden Sea Salt – See Tip Box
Cold Water – Approx. 6-8 tbsp – See Tip Box
Filled with apples that still have a bite
Filling
800g Apples – See Tip Box
4 tbsp Light Brown Sugar
4 tbsp Cornflour
1 tbsp Allspice
thick slices of apple dusted with spices, sugar and cornflour.
Egg Wash
1 egg
1 tbsp Cold Water
50g of Light Brown Sugar
How It’s Done
Filling
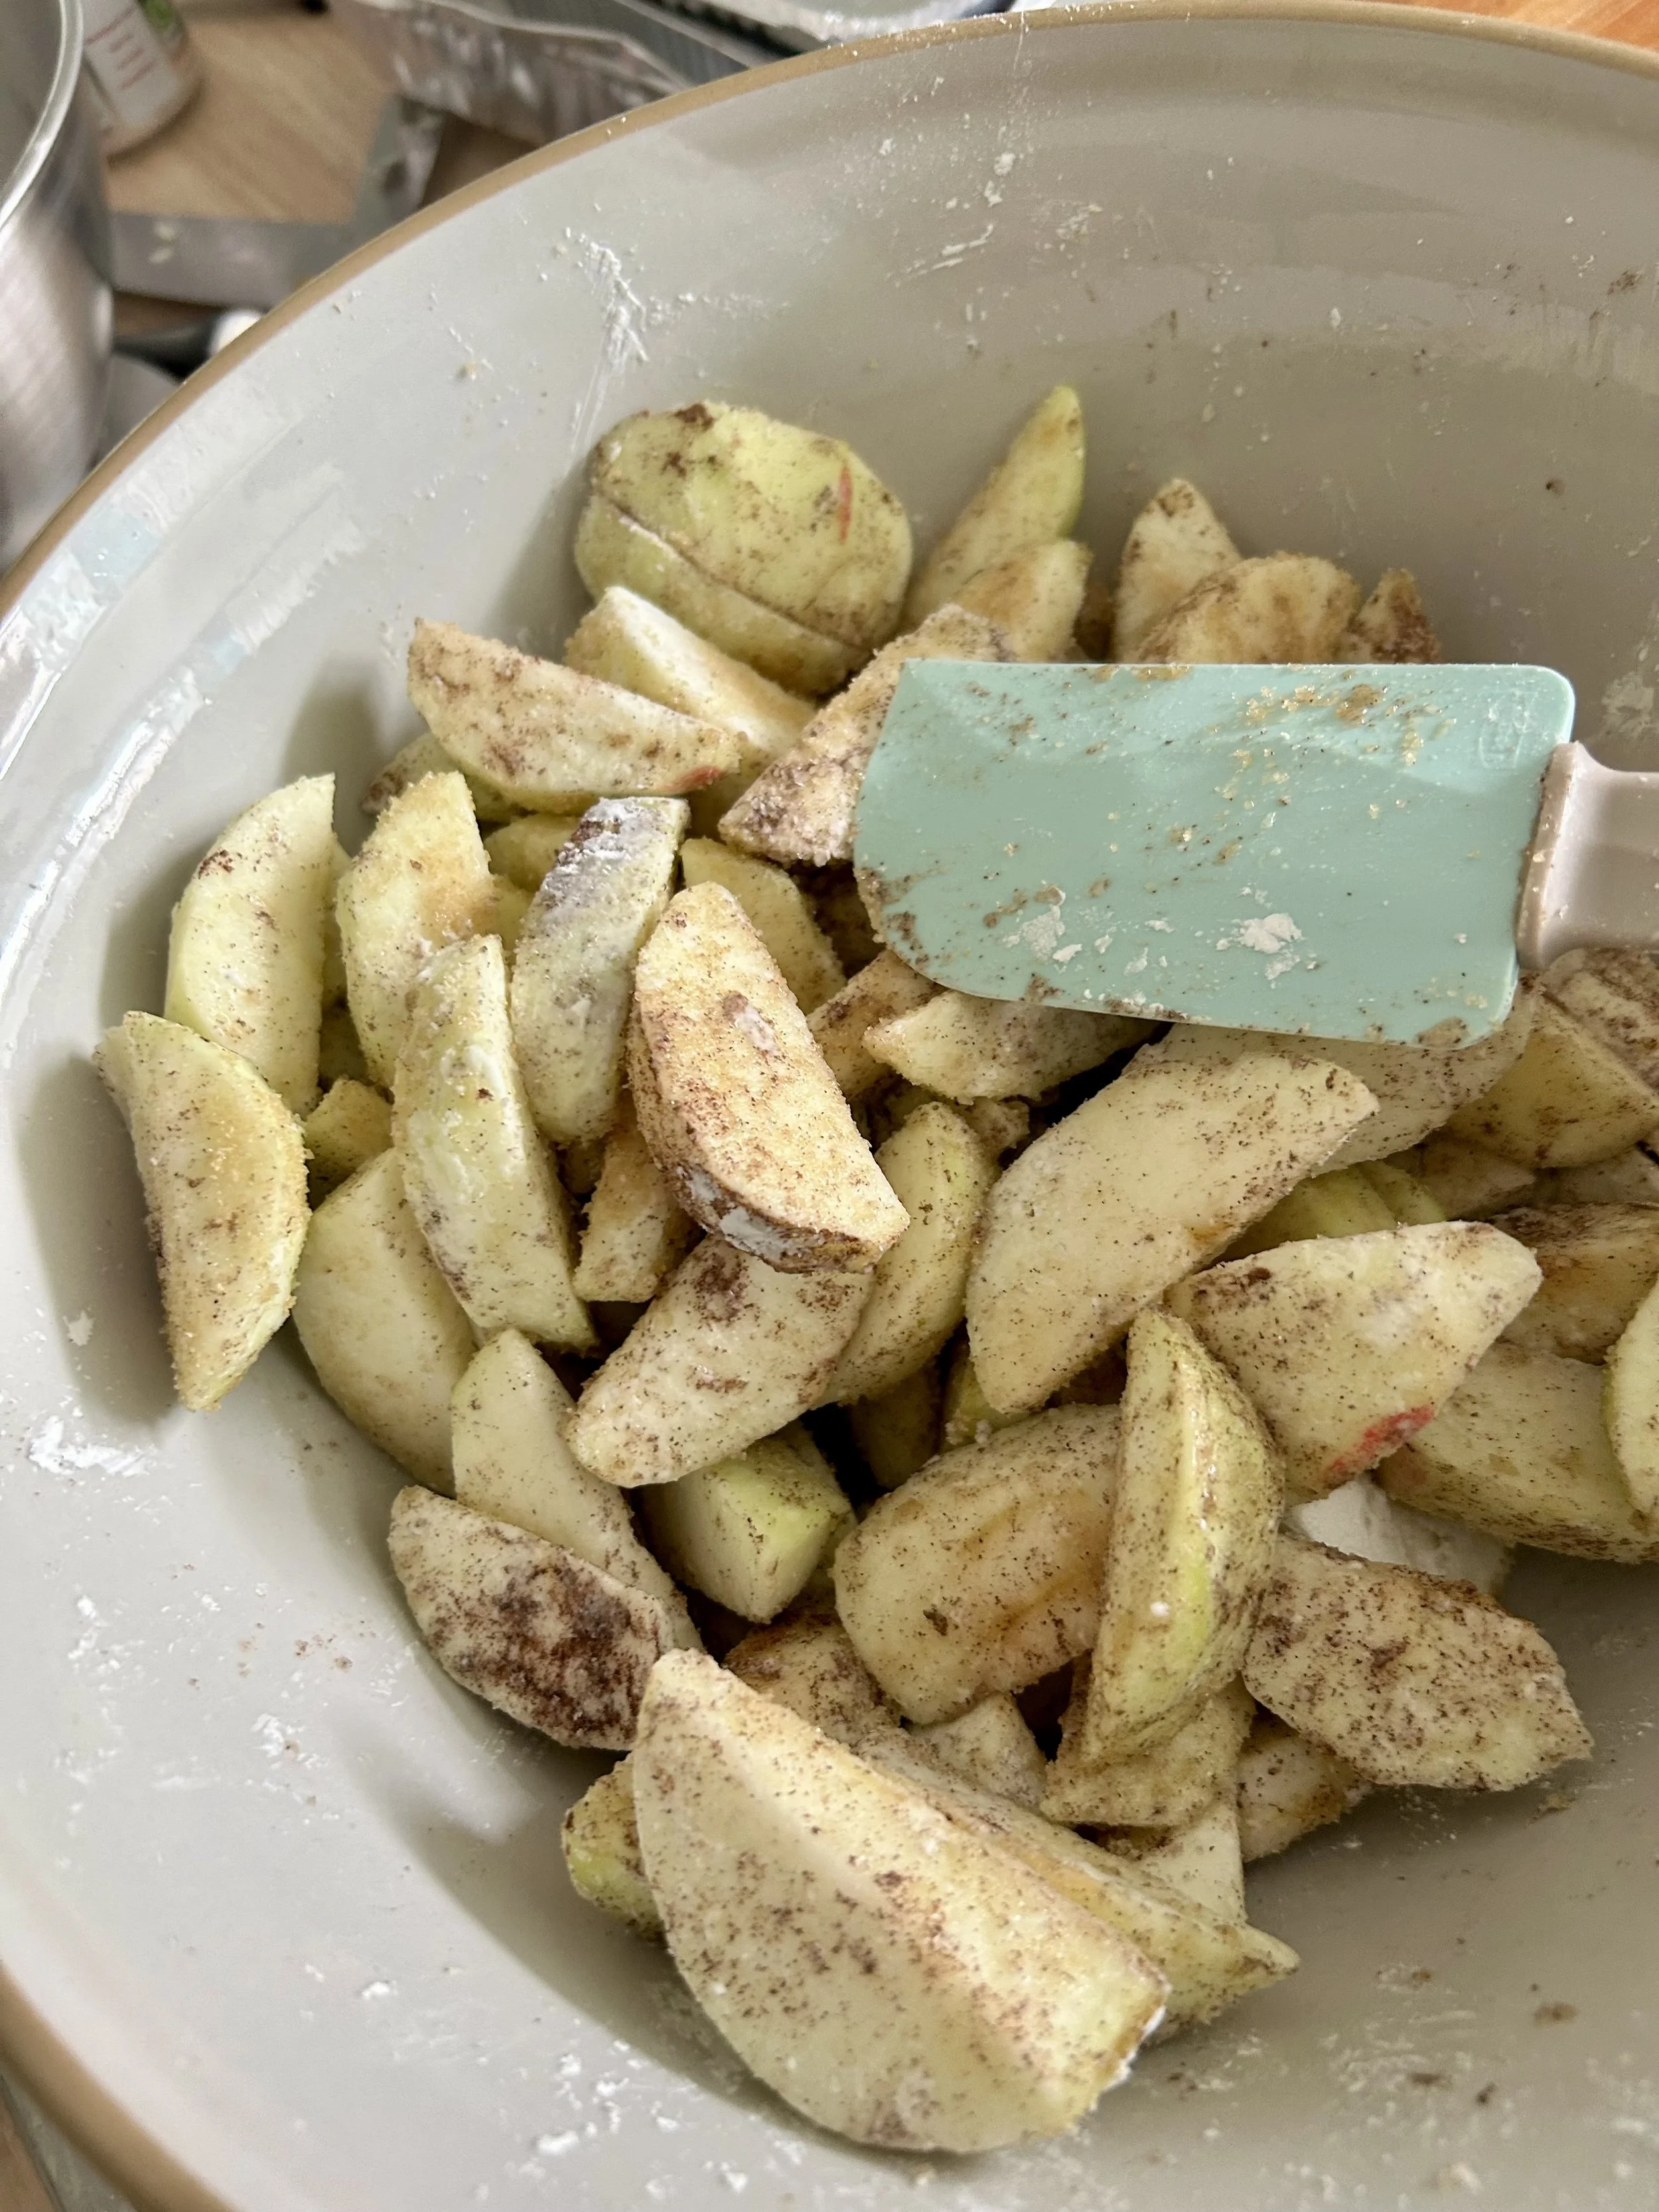
Peeled the apples, cut in half and remove the core.
Cut each of the halves into thick slices, and either put them in a zip lock bag or into a large bowl.
Add the allspice, corn flour and sugar to the apples and give them a really good mix so each of the slices has a coating.
Set the apples aside in the fridge until needed.
Squish each piece of butter until a little flattened.
Pastry
Place the flour and into a bowl and give it a good mix together.
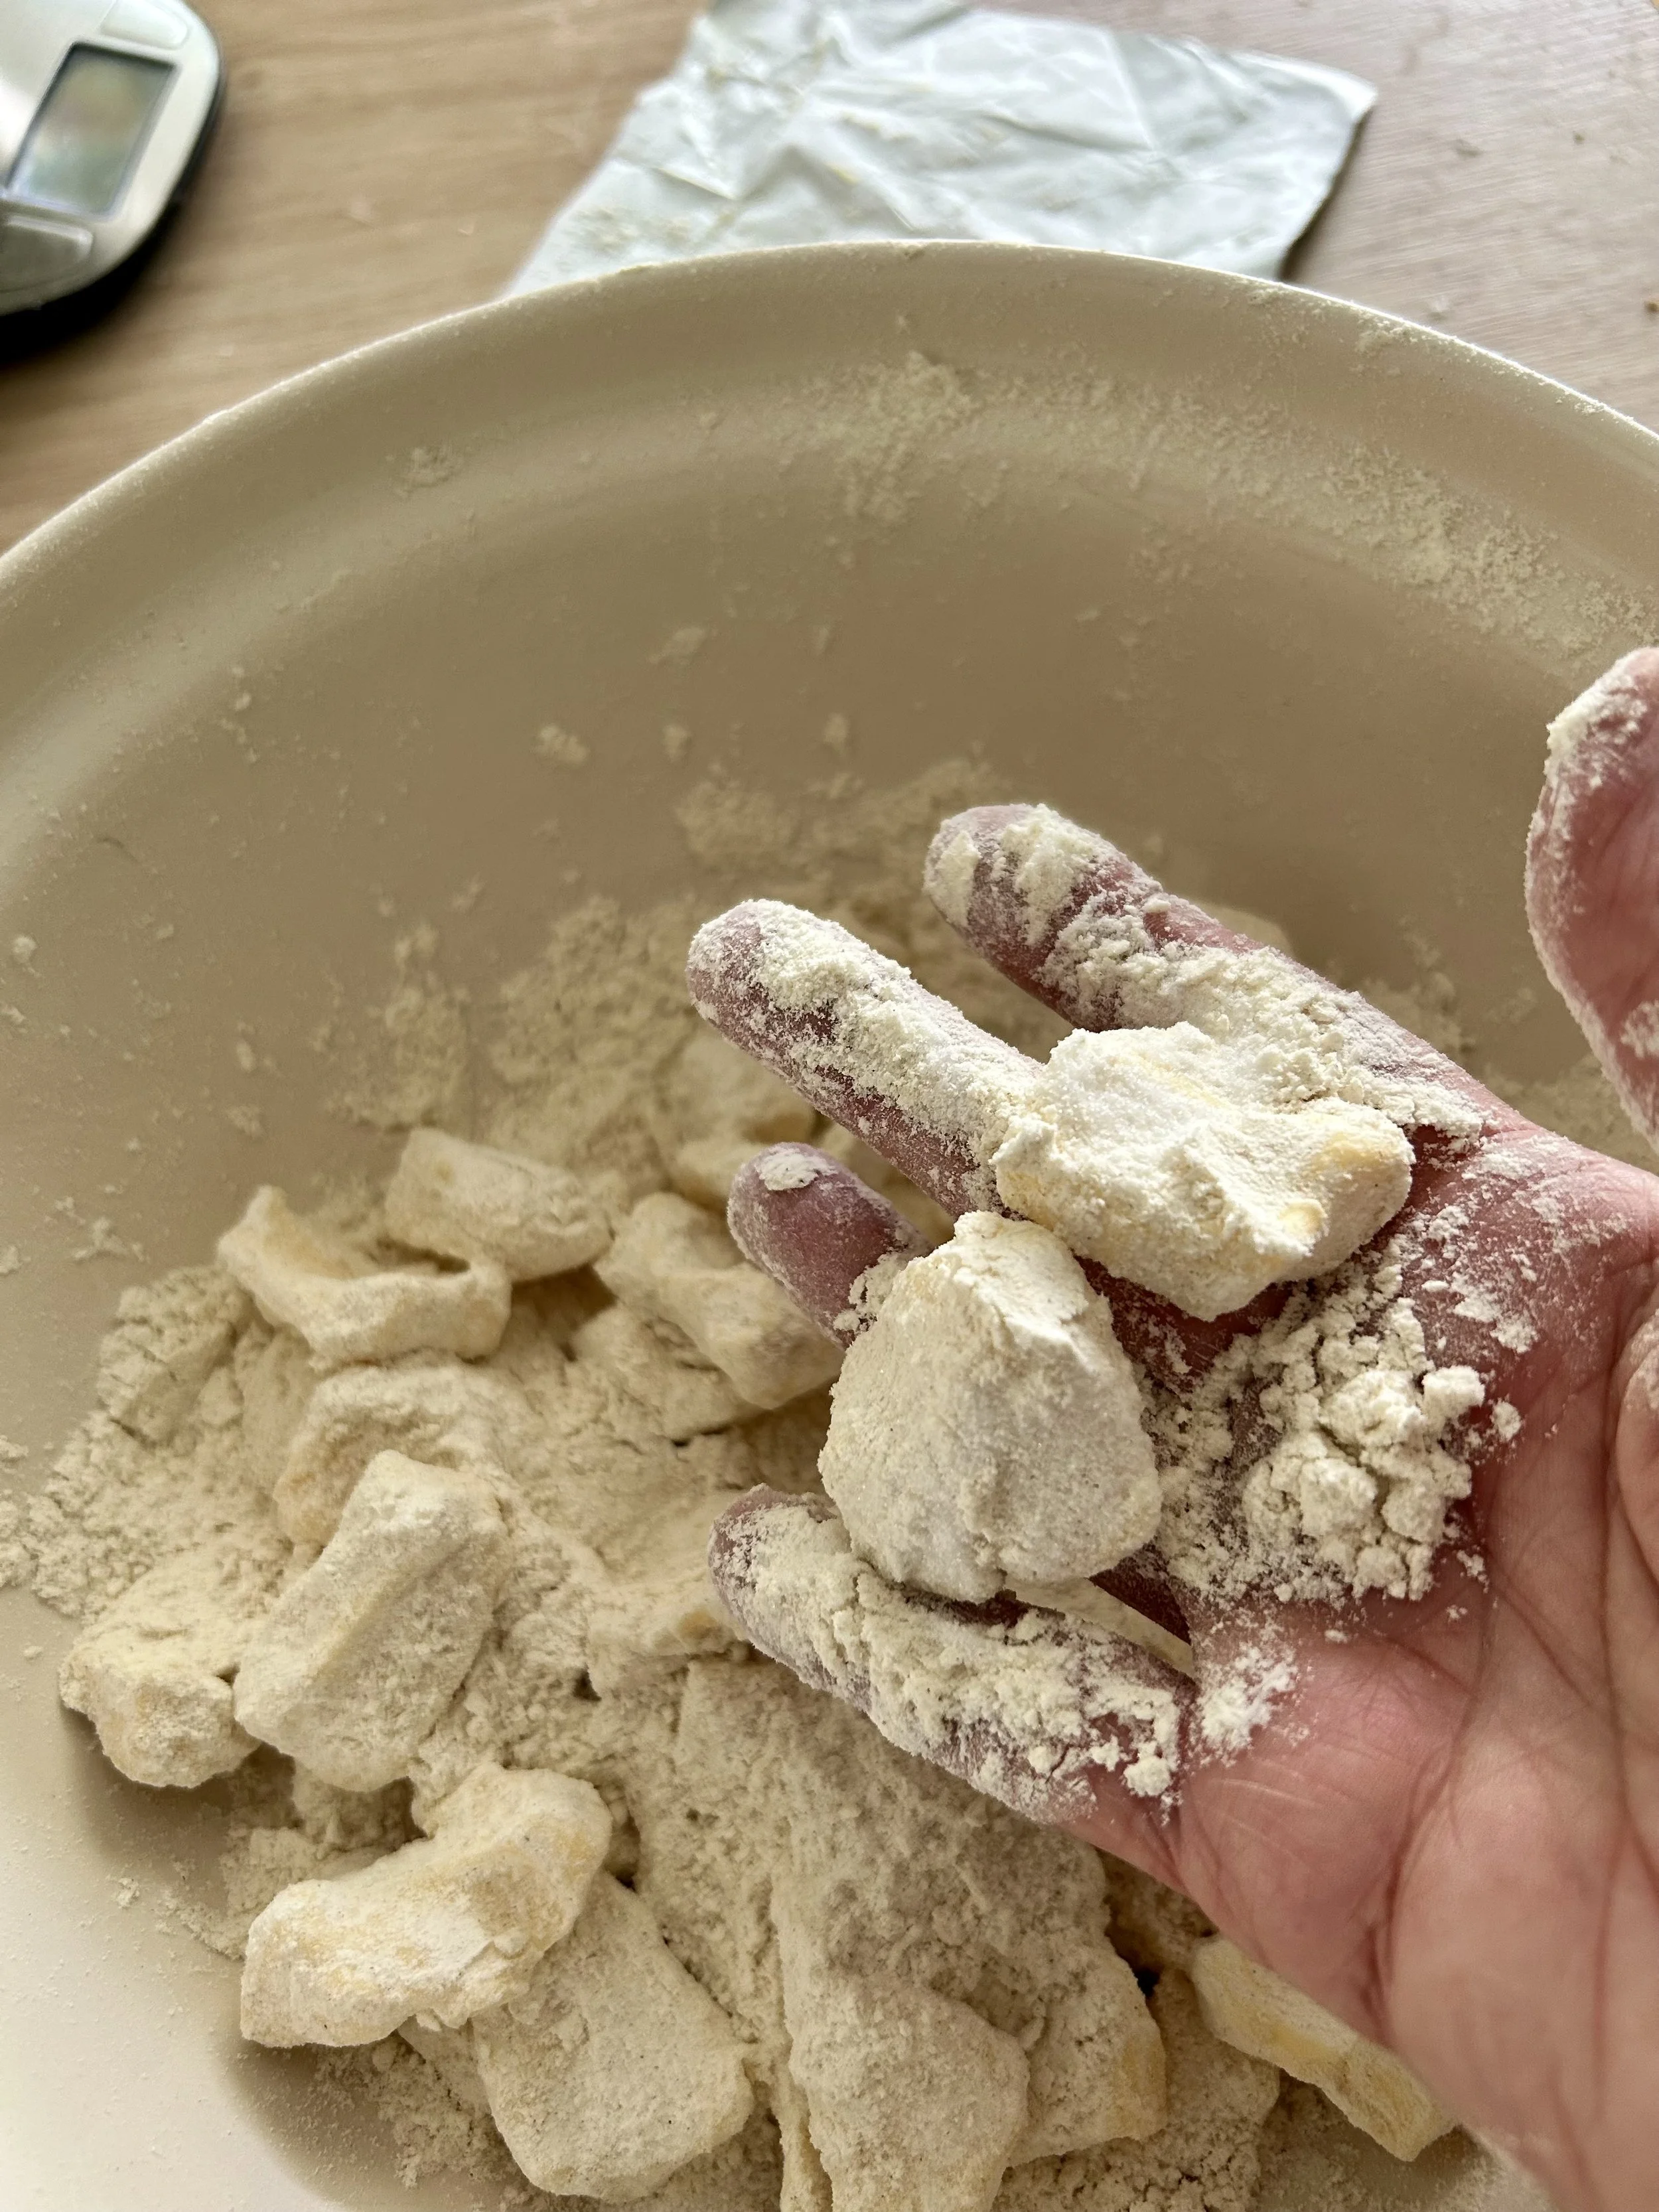
Cut the cold butter into pieces of about the size a little bigger than a thumb nail – See Tip Box
Put them into the flour mixture and toss the pieces around until each one is well covered in flour.
Once each of the pieces of the butter is well coated in flour, squish each of them between your thumb and finger and again, put them back into the flour and coat them.
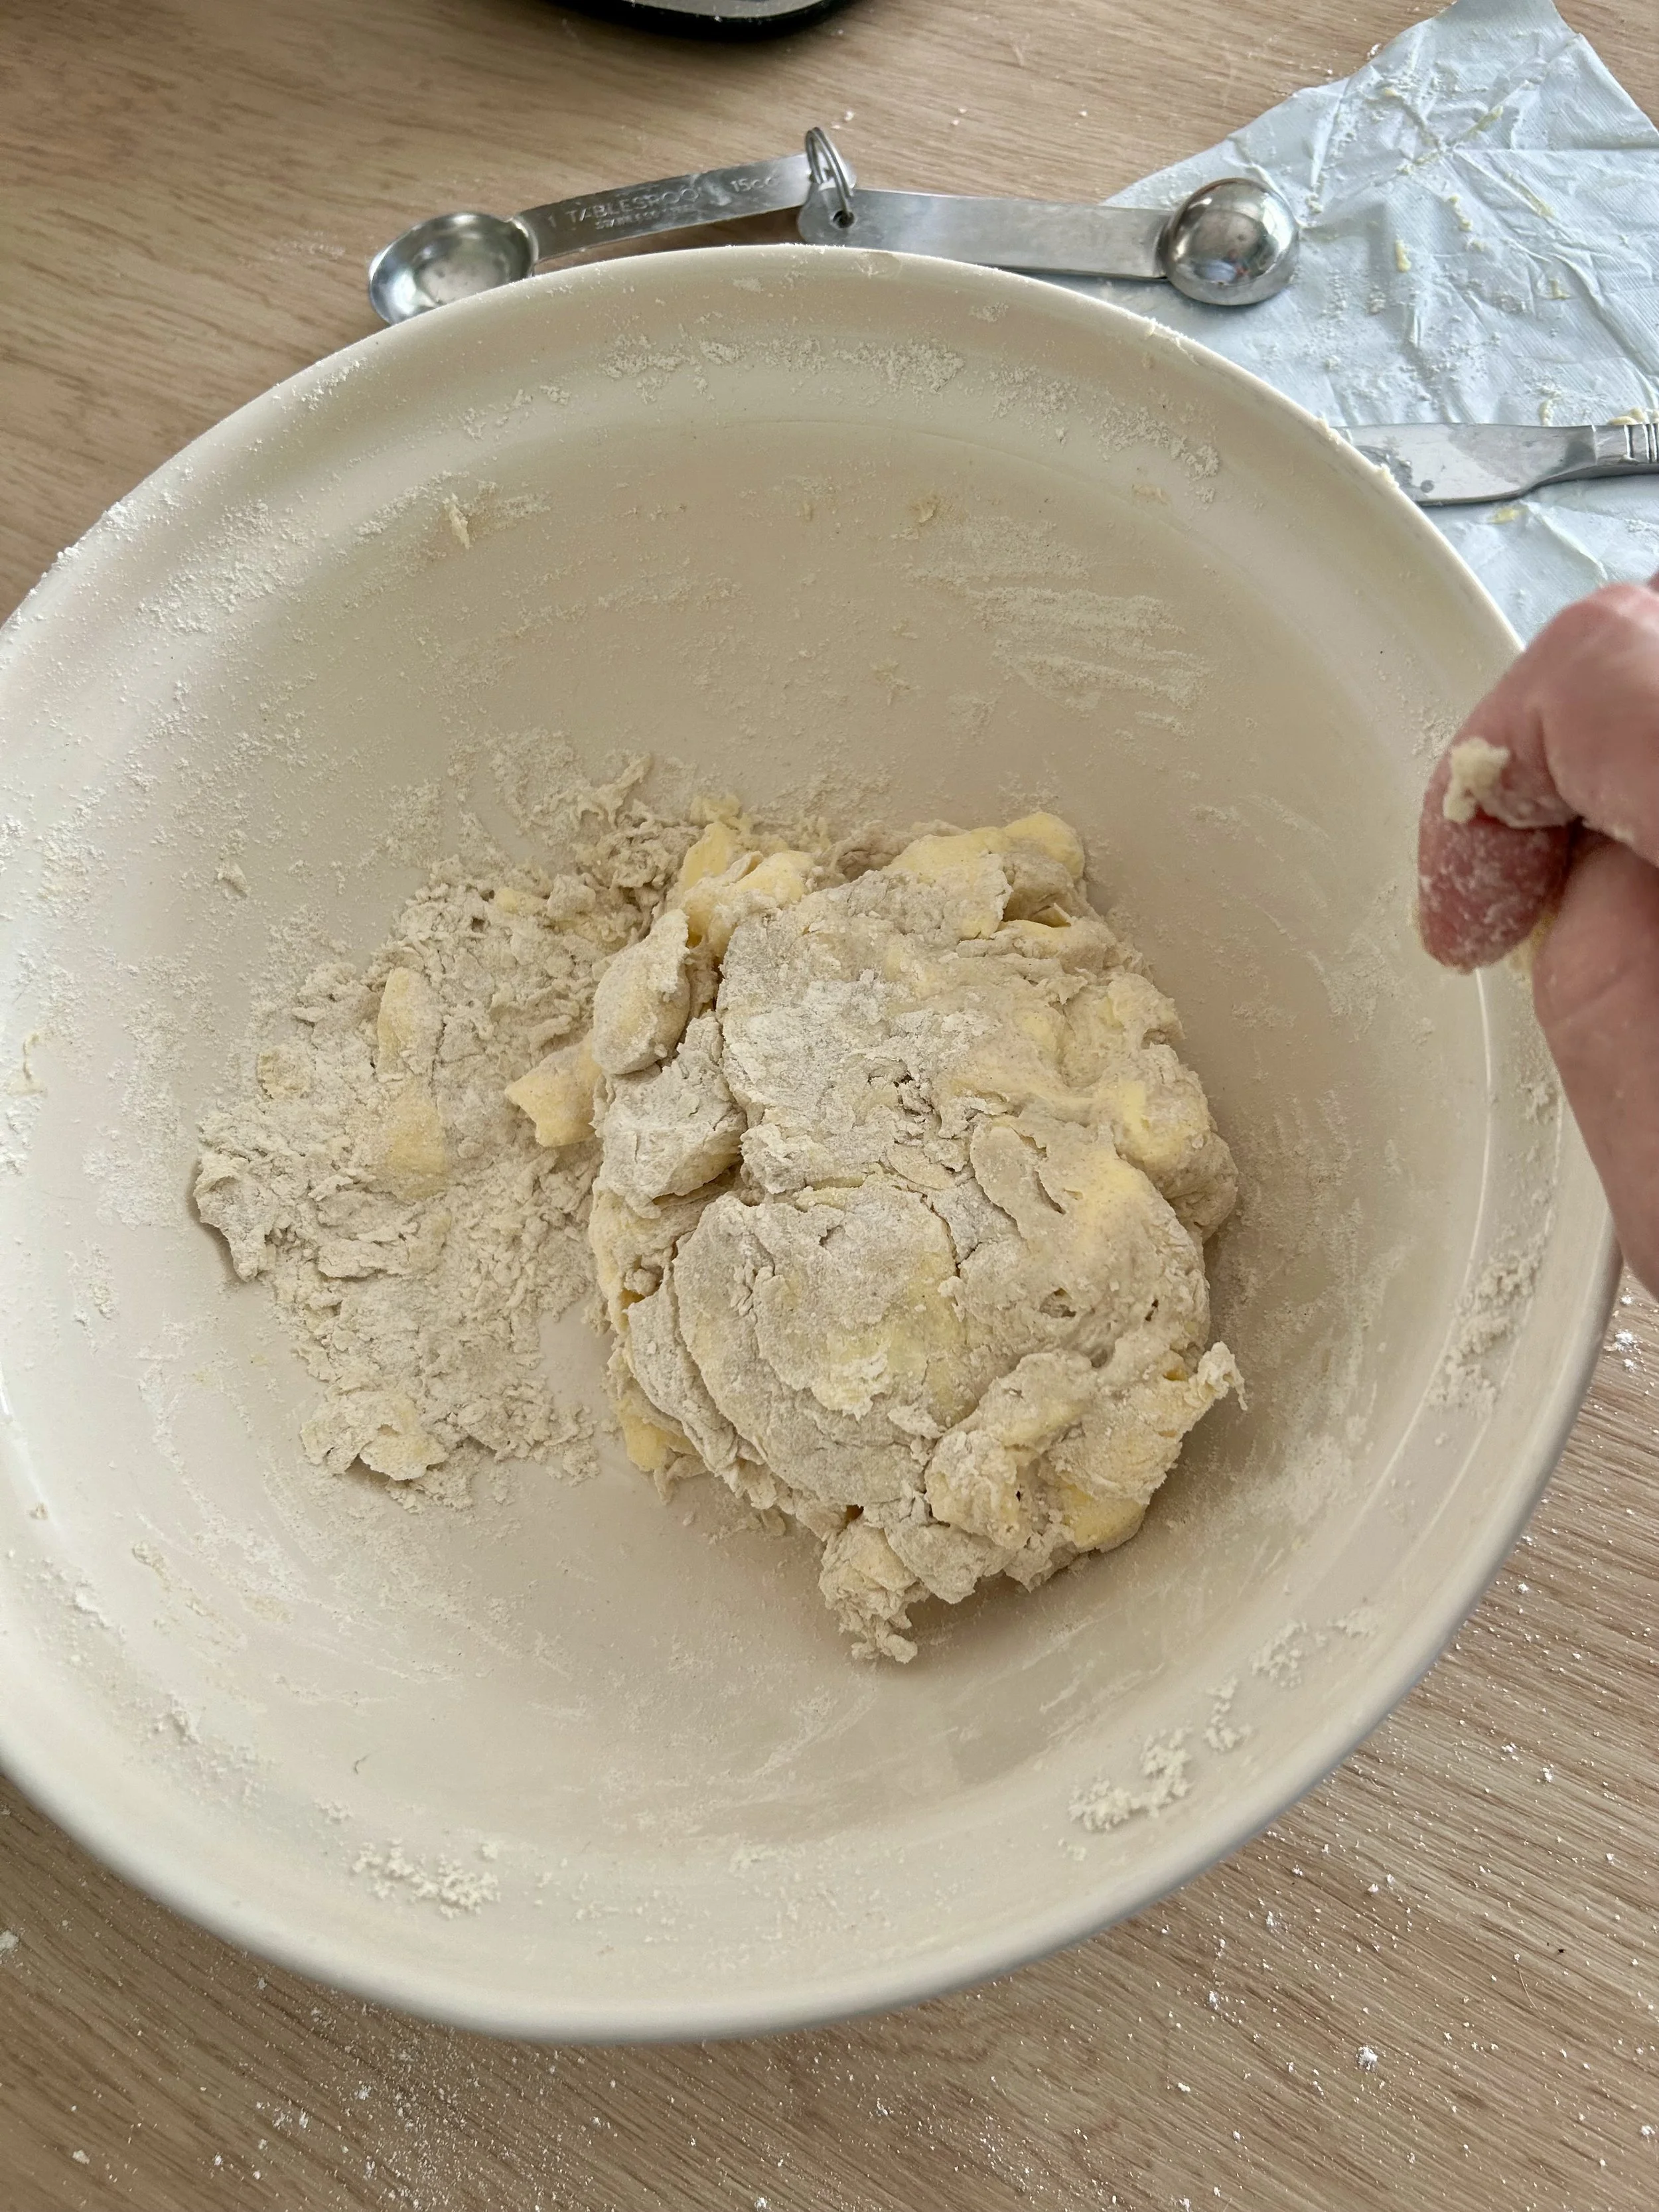
Add the cold water and using a blunt knife, mix everything together – It’s important that at this stage you do not use your hands to mix the pastry. The dough must stay as cold as possible so the pieces of butter do not melt – See Tip Box
If more water is needed, add it one tablespoon at a time until the dough comes together into a shaggy ball. If you need to use hands to bring it together, do this as quickly as possible but DO NOT knead the dough. The pieces of butter MUST be kept whole for the pastry to be flaky and have layers – See Tip Box
Do not knead the dough
Wrap the pastry in cling film and place in the fridge for no less than 20 minutes.
After the pastry has had a chance to chill, lay it on to a flour dusted work surface, and quickly use your hands to push it down to form a thick rectangle, pushing the sides straight with the edge of a rolling pin.
Dust the top of the pastry with a little flour, and use the rolling pin to roll out the pastry into a rectangle (approx. 10 inches x 15 inches) – only roll out the pastry in one direction, DO NOT roll the pastry back and forward as this will smush and melt the pieces of butter and the pieces need to be kept whole for the pastry to be flaky.
Time to make layers by folding the pastry.
1) Fold the long right side of the pastry over to the middle.
2) Fold the long-left side of the pastry to the middle.
3) Fold the pastry in half long ways
4) Use a sharp knife to cut the pastry in half
5) Cut each of the halves in half
6) Lay two of the pieces in top of each other and then the other two on top of each other
7) Wrap each of the blocks of pastry in cling film and place in the fridge for no less than 20 minutes.
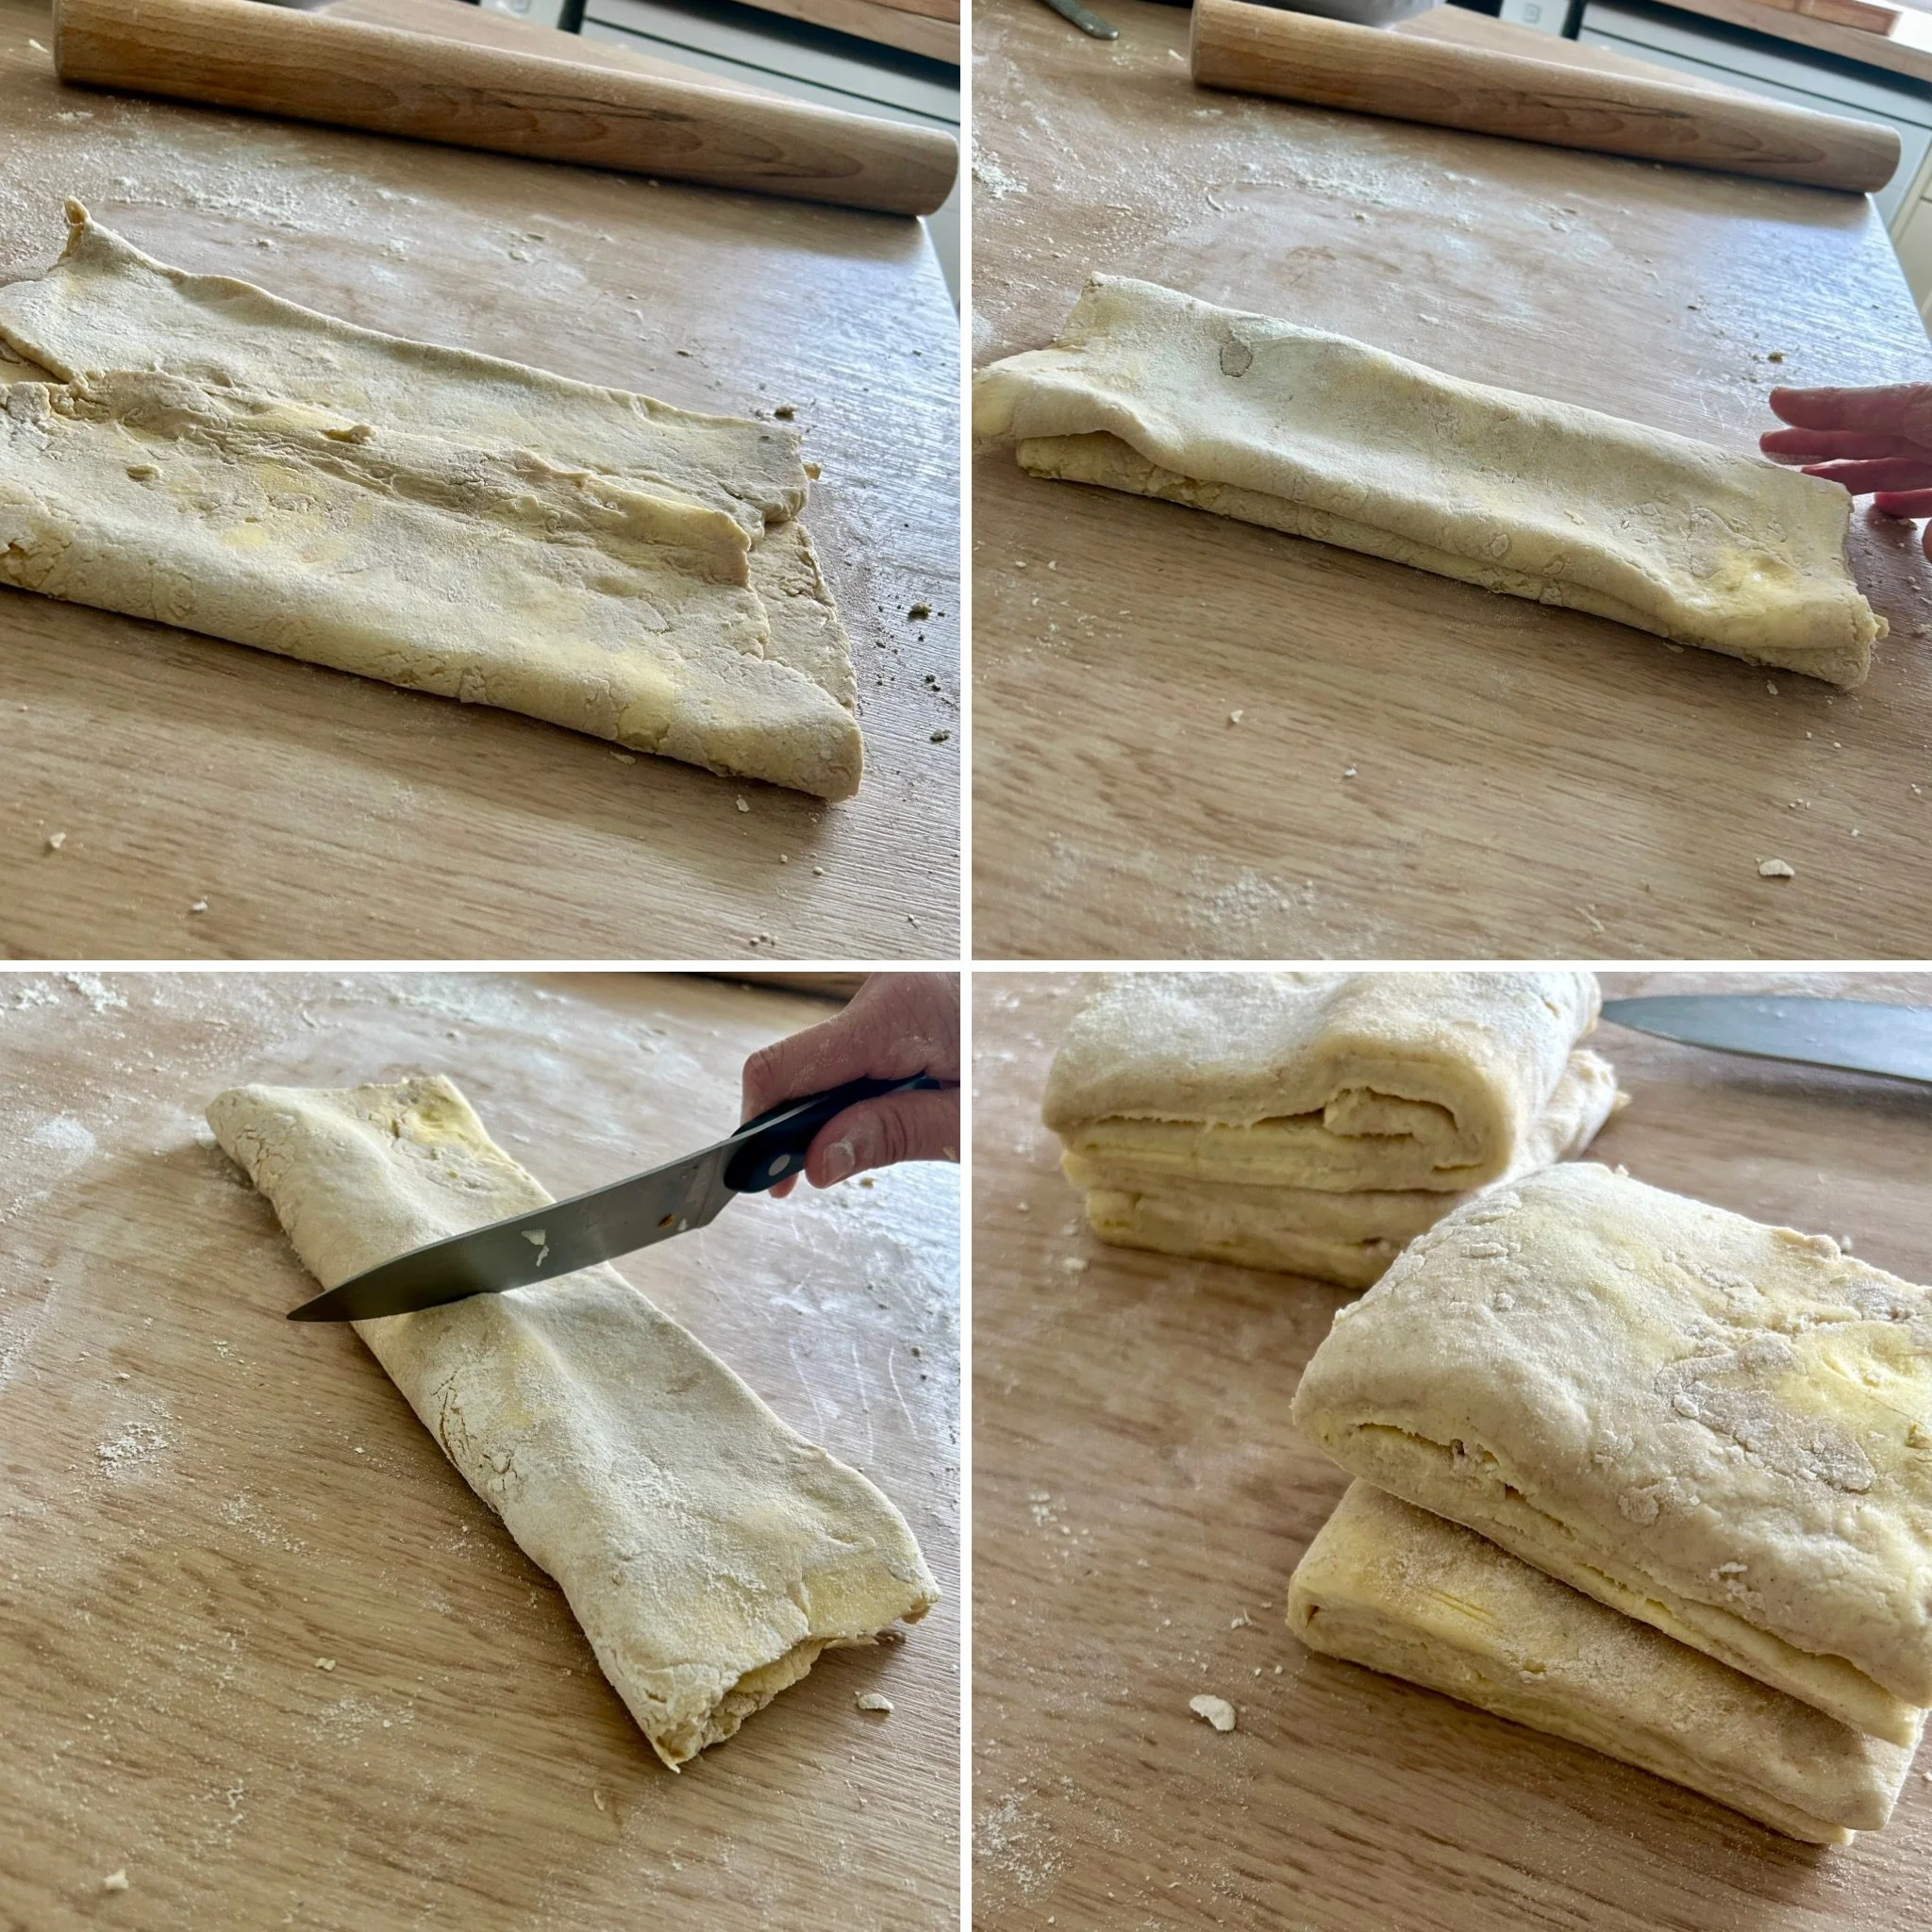
Top left: fold both long sides into the middle. Top Right:Fold over itself. Bottom Left: Cut in half. Bottom Right: Cut in half again and stack.
Baking the Pie
Oven temperature 200c
Egg Wash - Break the egg into a bowl, add 1 tablespoon of water. Use a fork to beat the egg and water together so the mixture is loose.
Prepare a pie dish about 9-10 inches, by rubbing butter all over the inside and then dusting the inside with flour, making sure to tap out any excess flour. – See Tip Box
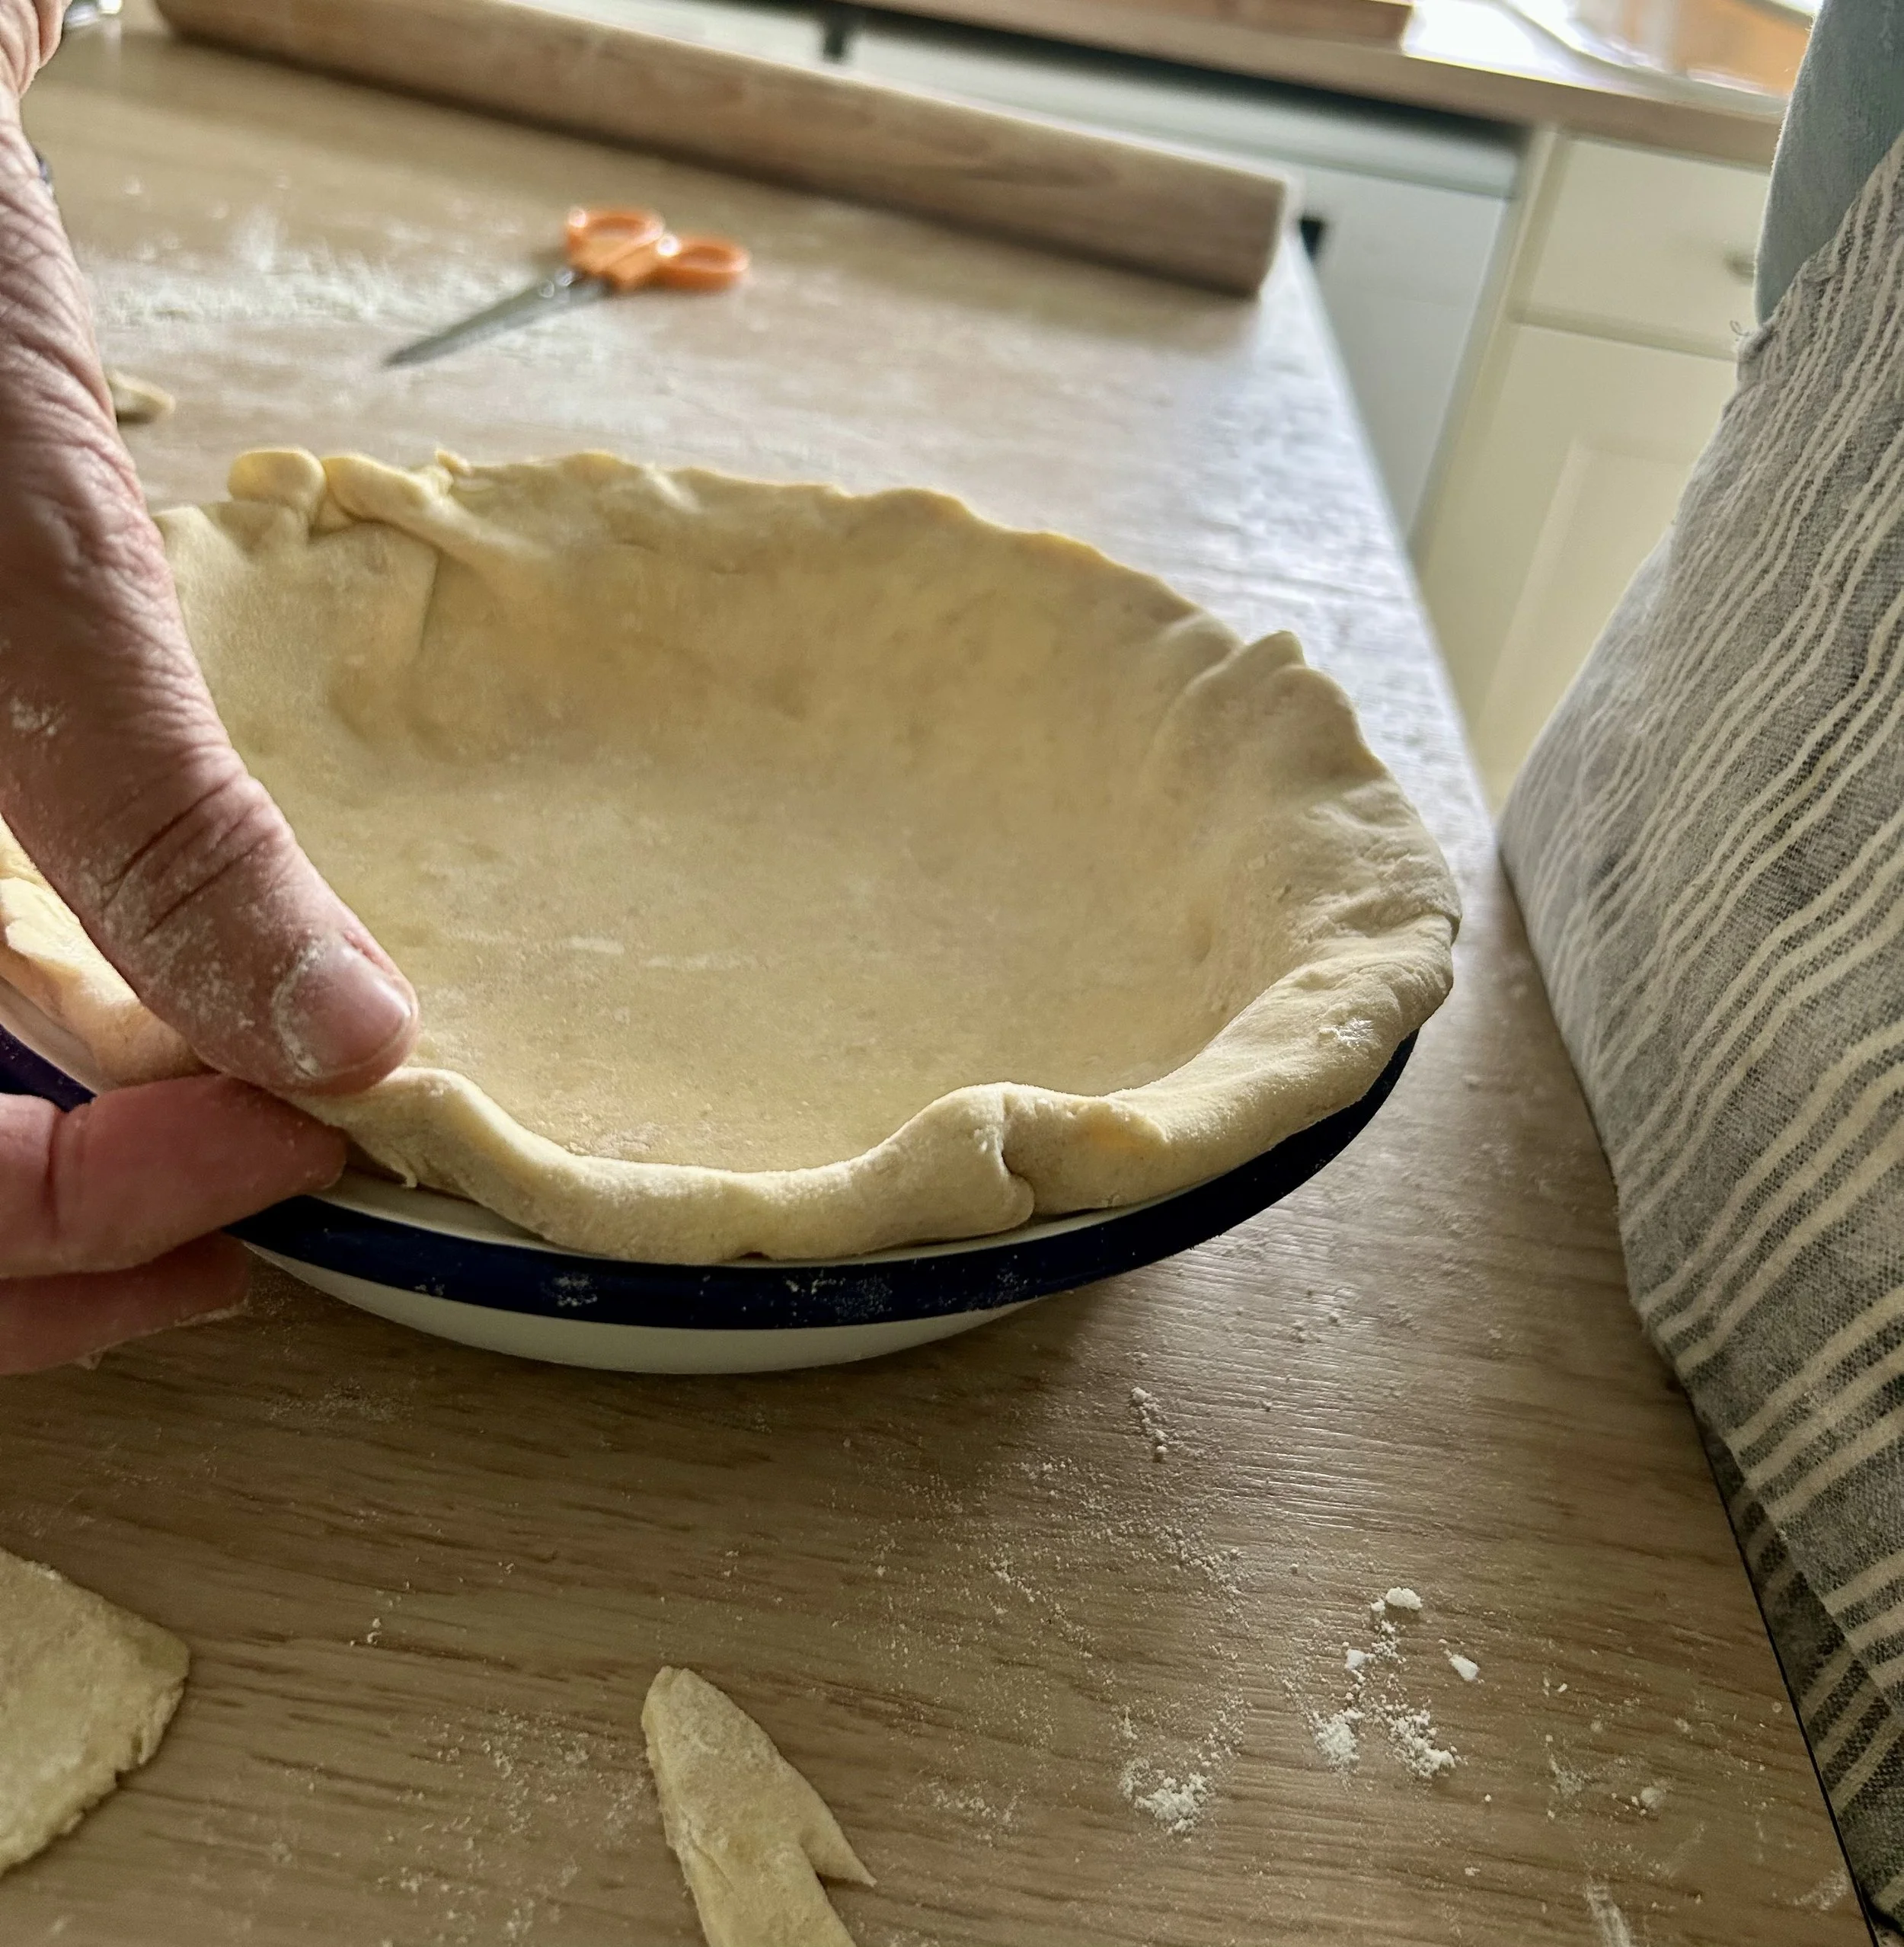
Remove one piece of pastry from the fridge and unwrap it.
Dust the work surface with a little flour and, only rolling one way (not rolling back and forward) roll out the pastry so it fits the prepared tin making sure there is an overhang of around 1 ½ inches.
Carefully, tuck the edges of the pastry underneath itself so it has a thick edge all the way around.
Use a fork to poke holes all over the bottom of pie and then put the covered dish back in the fridge for 20 minutes before blind baking – See Tip Box
After the pastry has chilled, scrunch up a piece of non-stick baking parchment, big enough to cover all the pastry.
Pour in some baking beans and put the dish into the hot oven to blind bake for around 30-40 minutes until the bottom of the pastry is dry to the touch. If mot dry, remove the parchment and baking beans and return to the oven for a further 10 minutes.
Remove from the oven and let the pastry cool of 10 minutes before adding all of the apples.
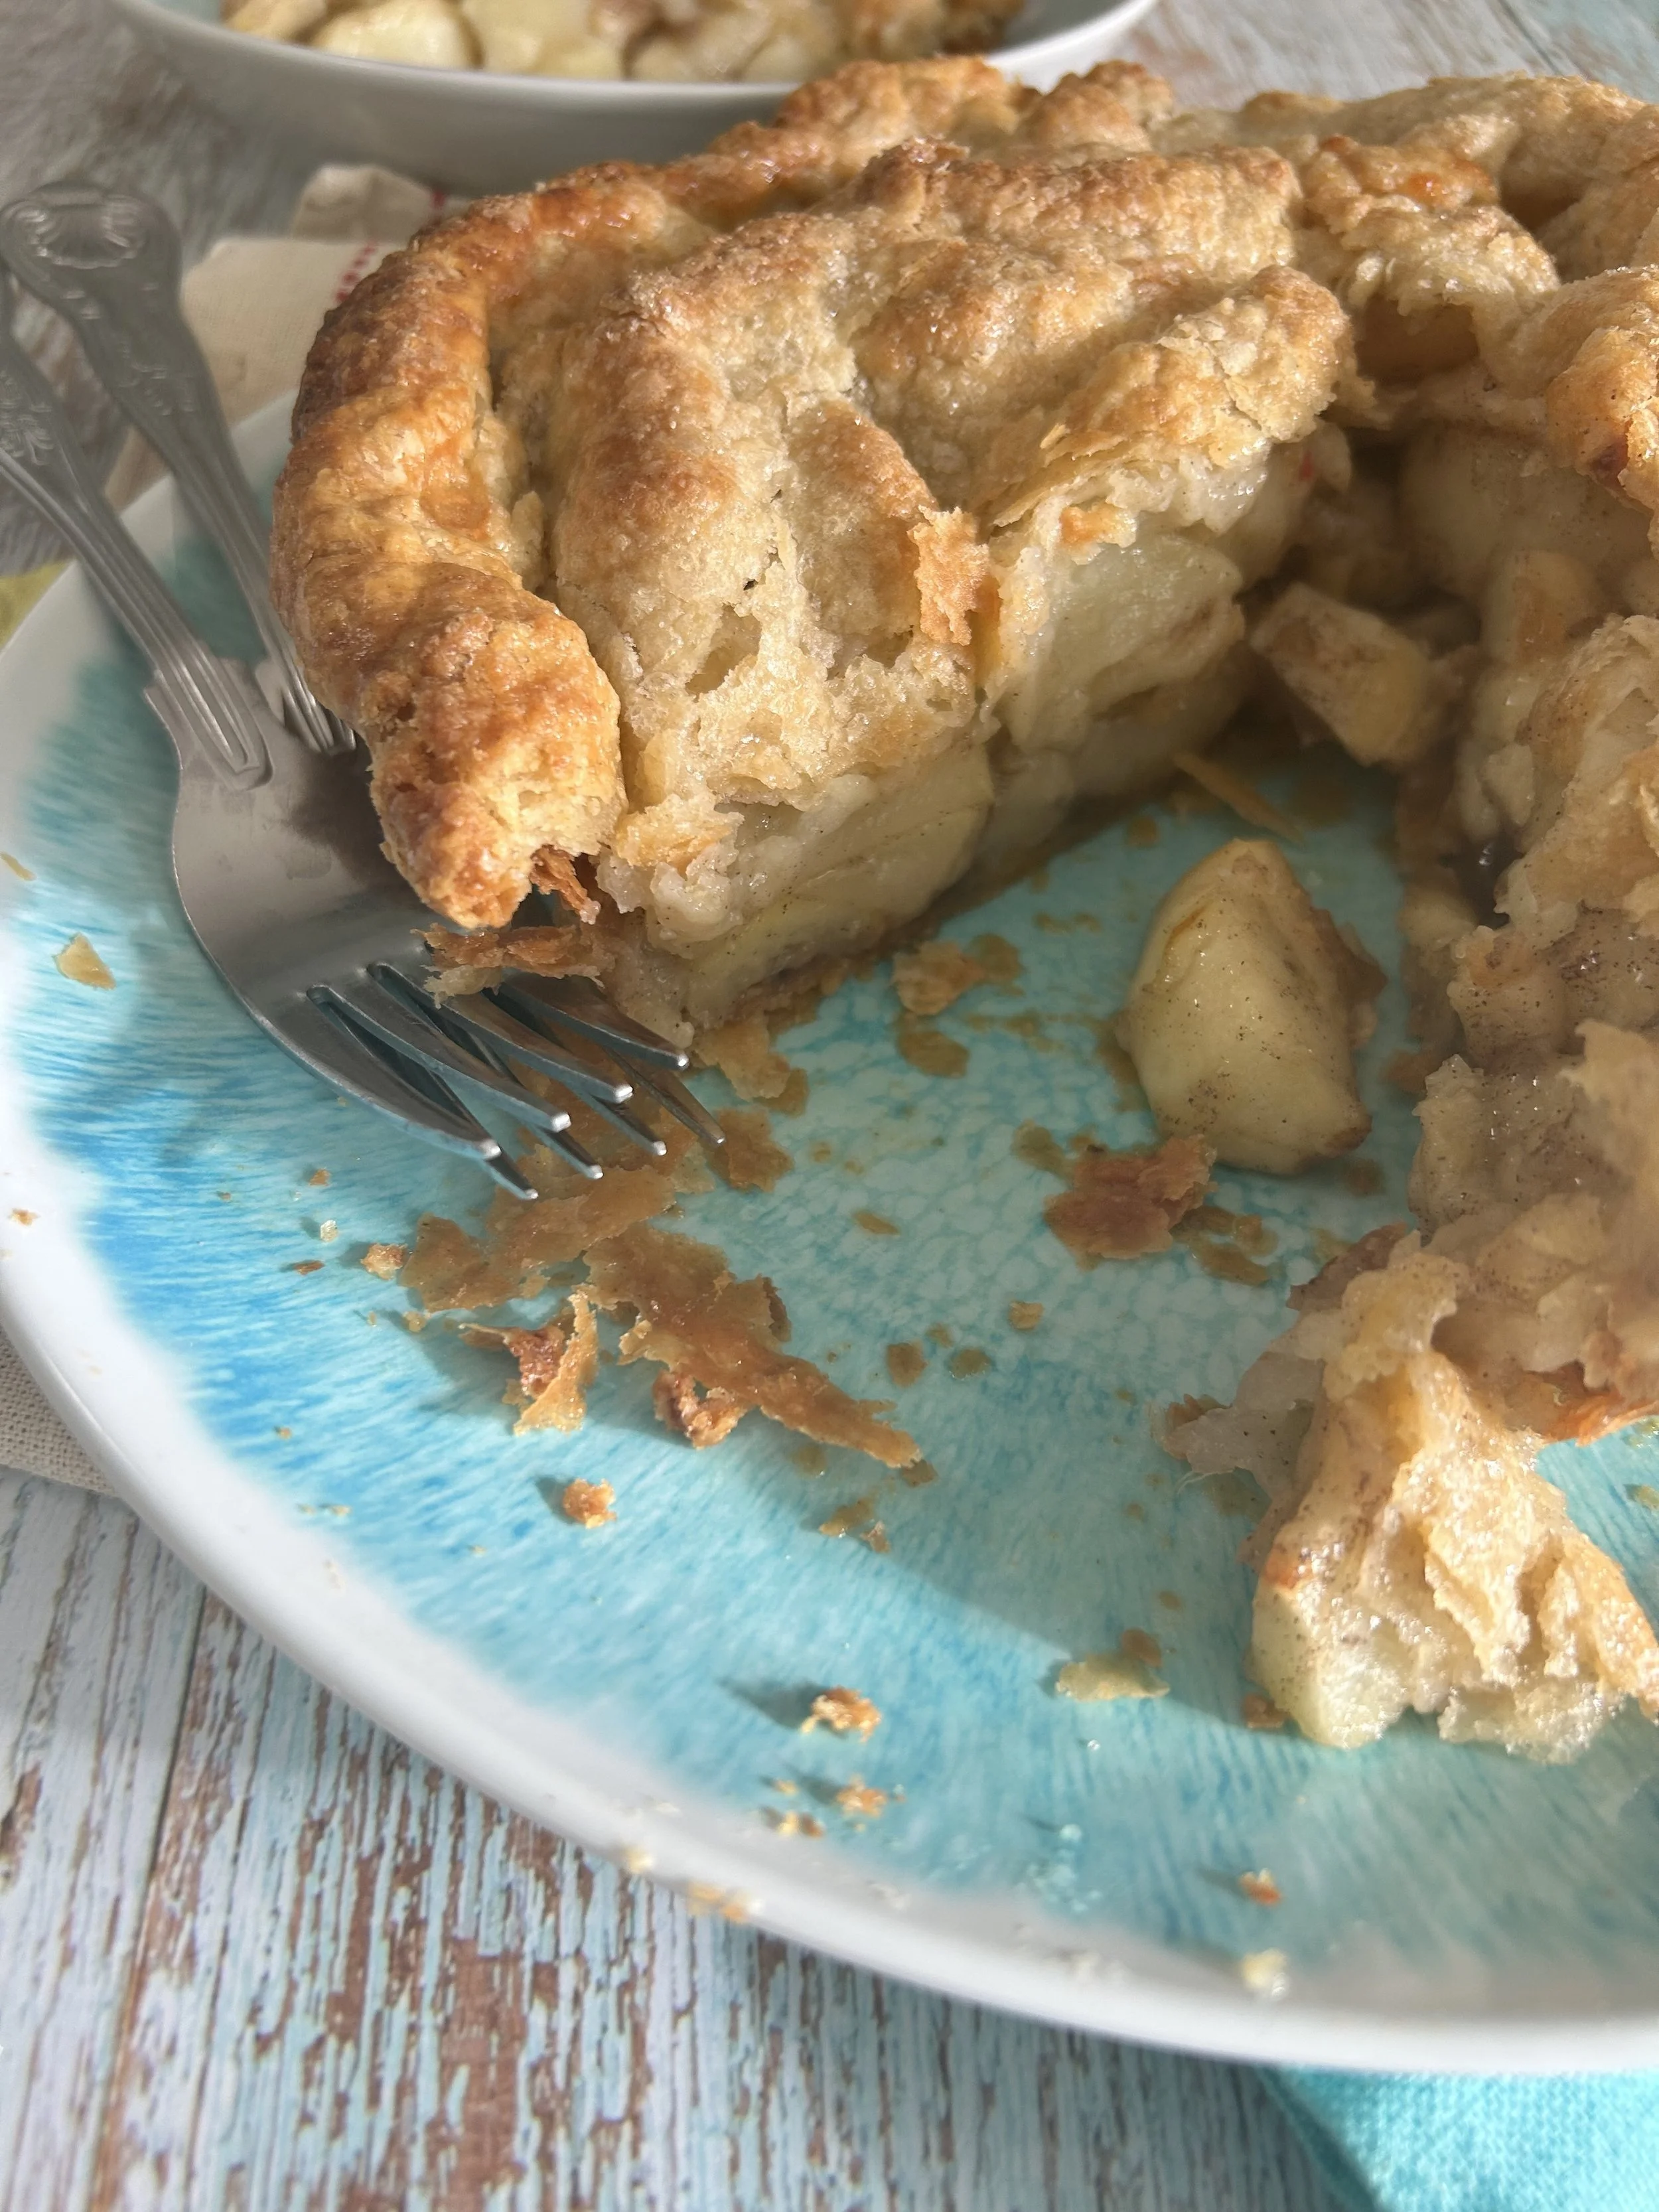
The apples should be in a heap rising above the pie dish.
Remove the second piece of pastry from the fridge and roll it out using the same technique as the first piece – make sure to only roll on one direction – The pieces of butter should still be visible with in the pastry once rolled out.
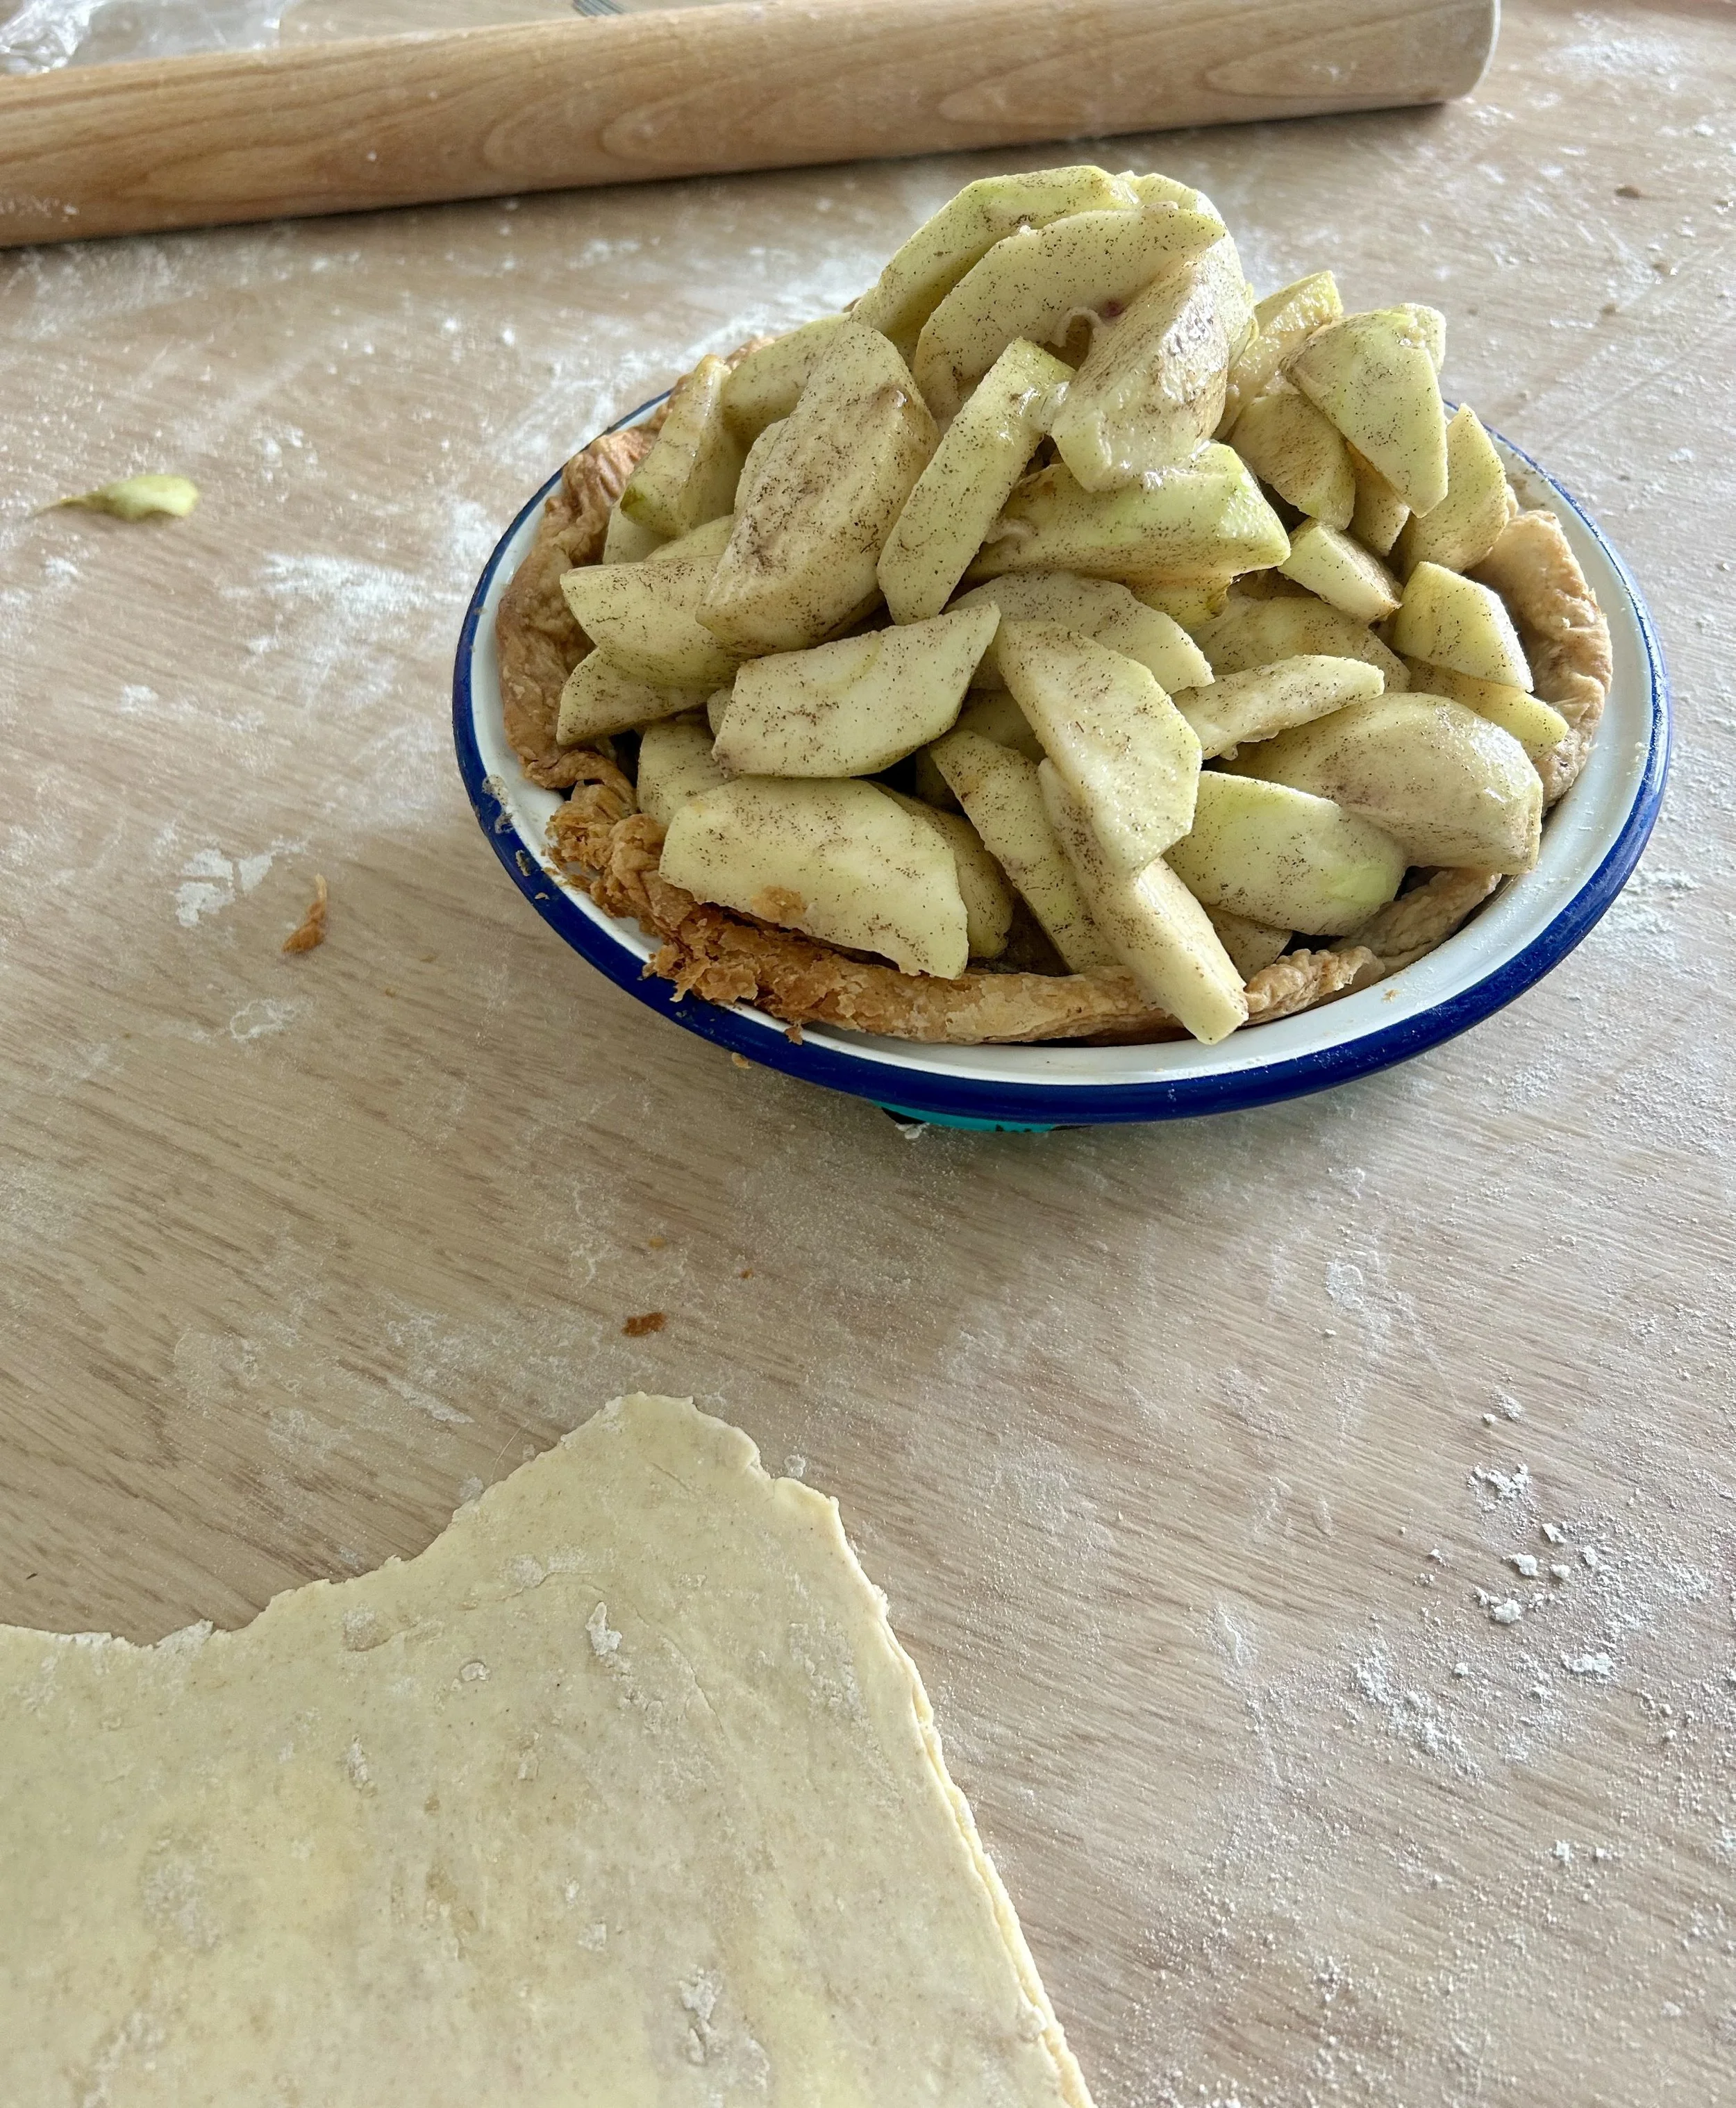
Heap the apples high
Brush a little of the egg wash around the crust of the pastry in the tin.
Lay the rolled-out piece of pastry over the top of the apples leaving an overhang of around 1½ inches.
Gently push the pastry against the edge of the cooked pastry so that it sticks.
With the overhang of the pastry, turn it up and over itself so there is a nice thick edge to the pie.
Use a sharp knife to cut three slits in the top of the pie.
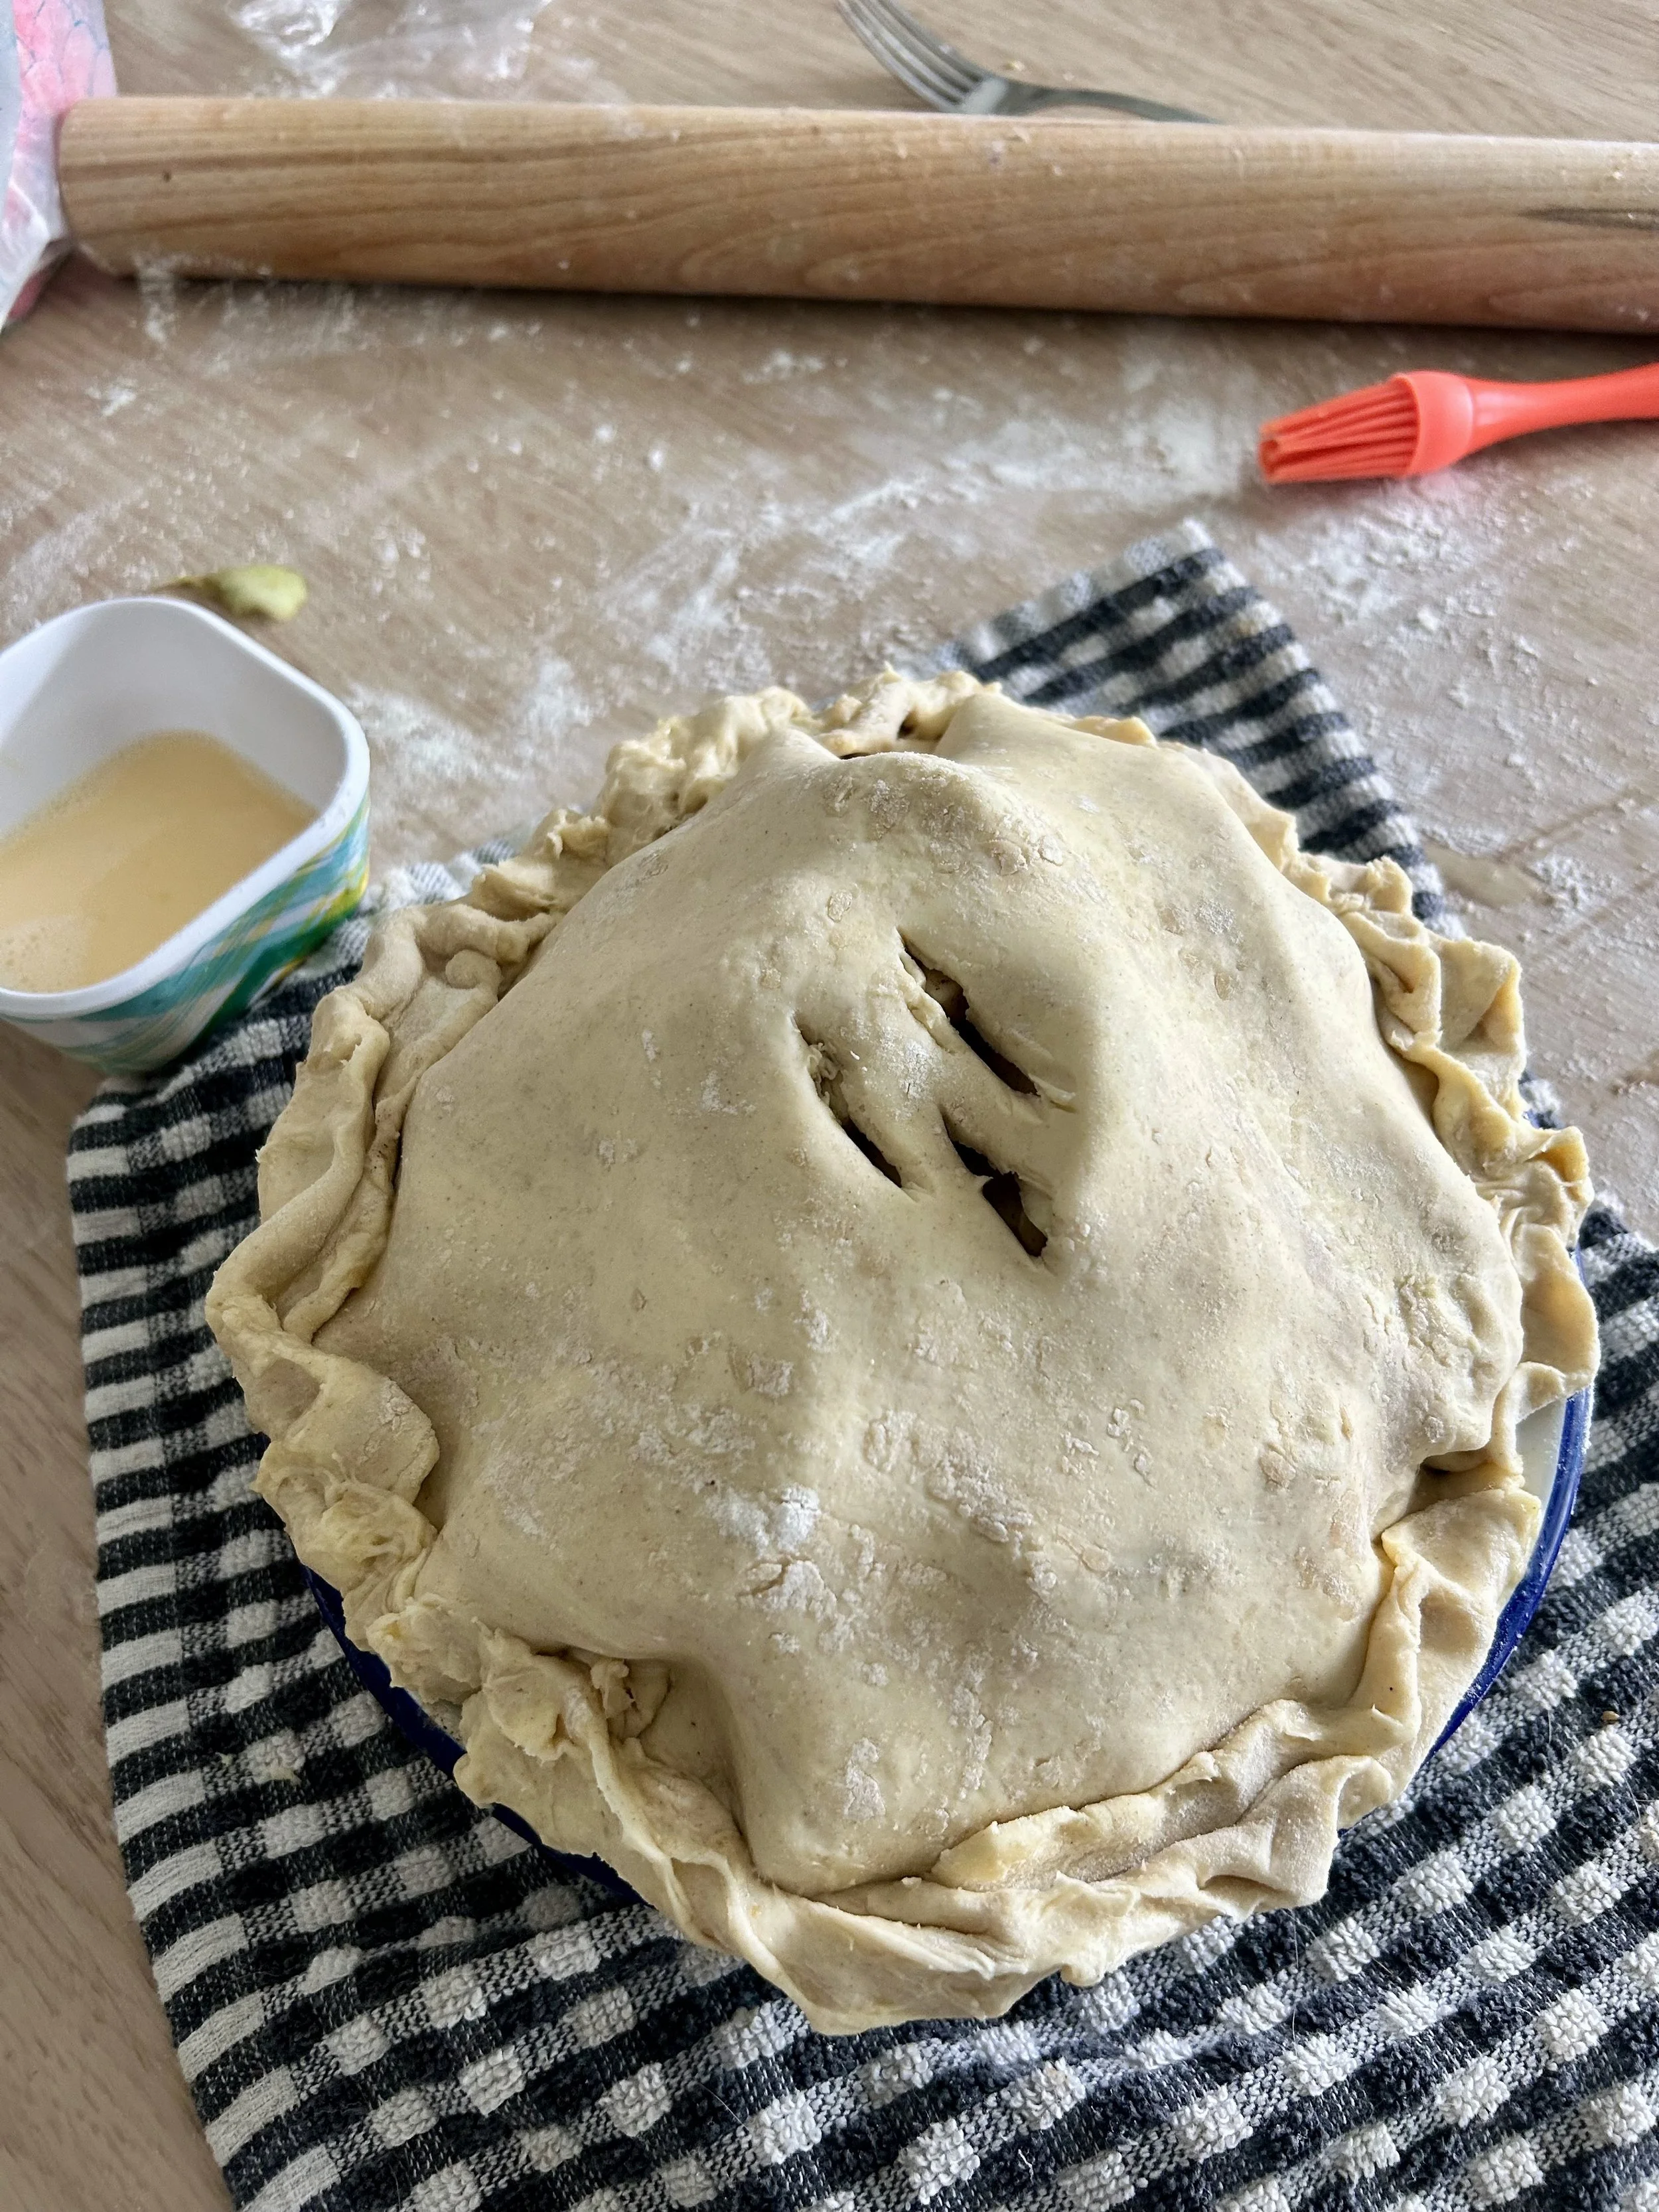
Three good slits in the top of the pie
Gently brush the pastry lid with the egg wash.
Sprinkle the brown sugar all over the top of the pie including the crust area.
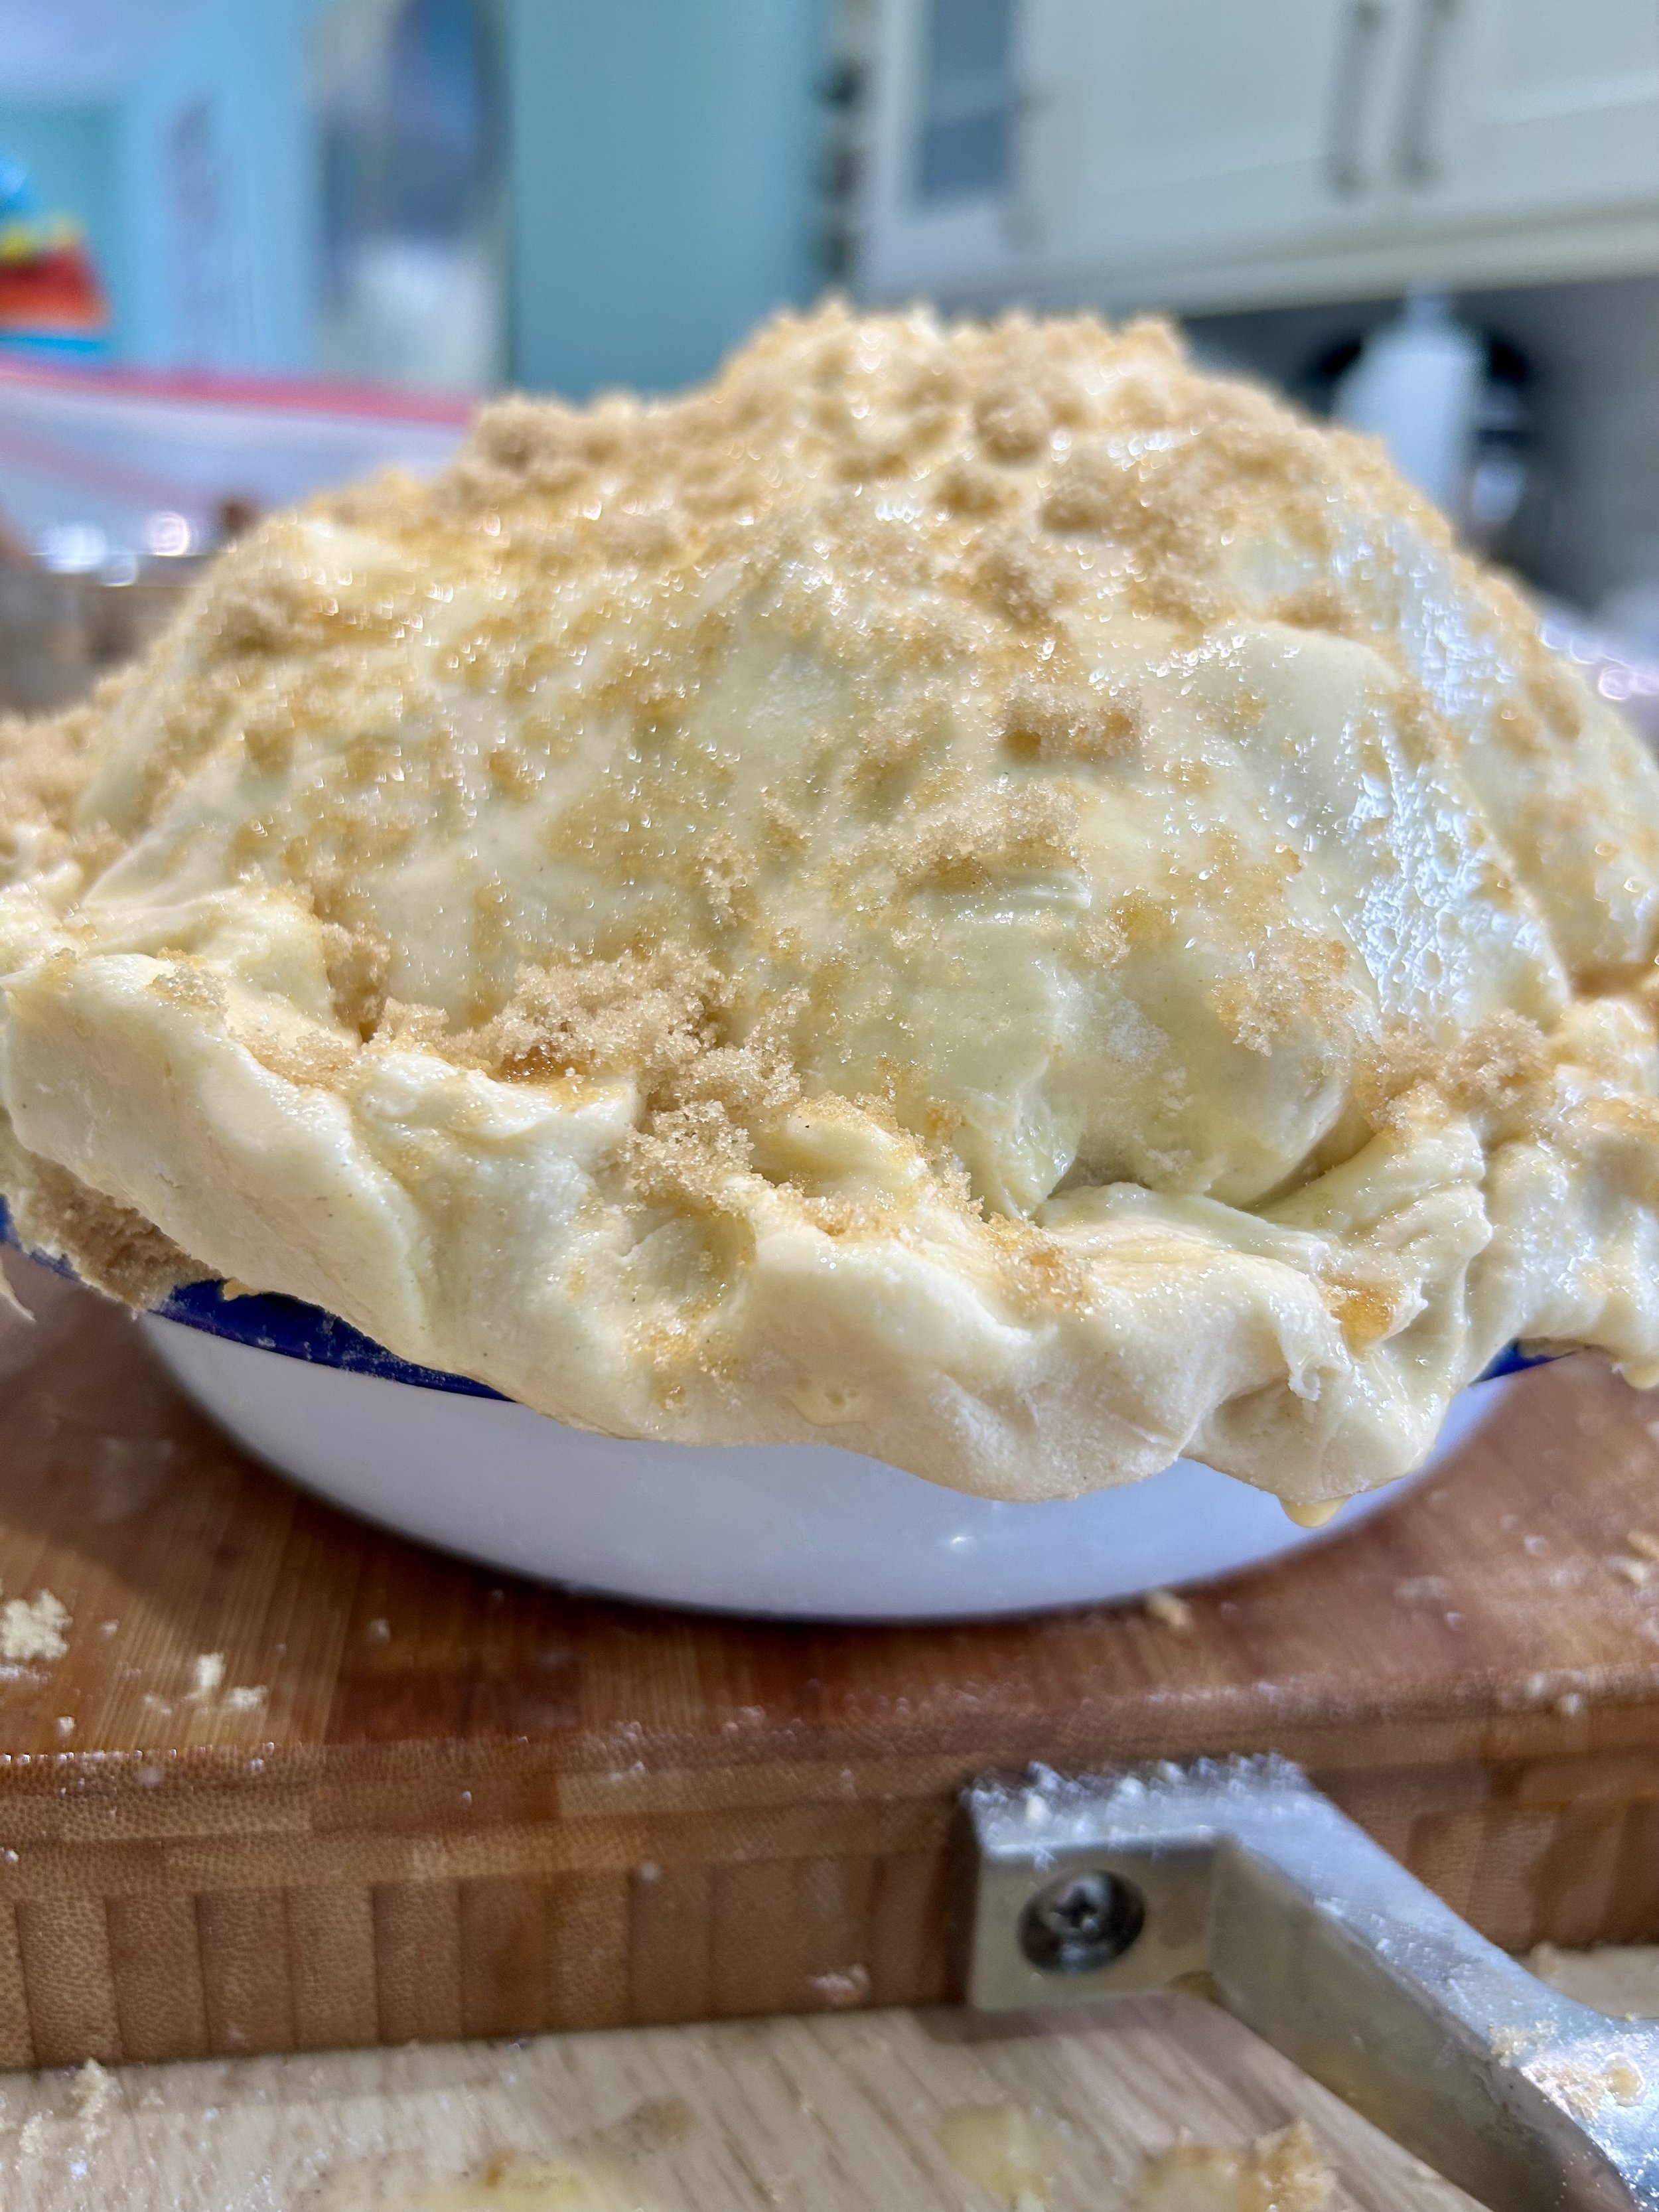
Sprinkle brown sugar over the top
Place the pie on to an oven tray and place the tray into the hot oven to bake for around 1 hour.
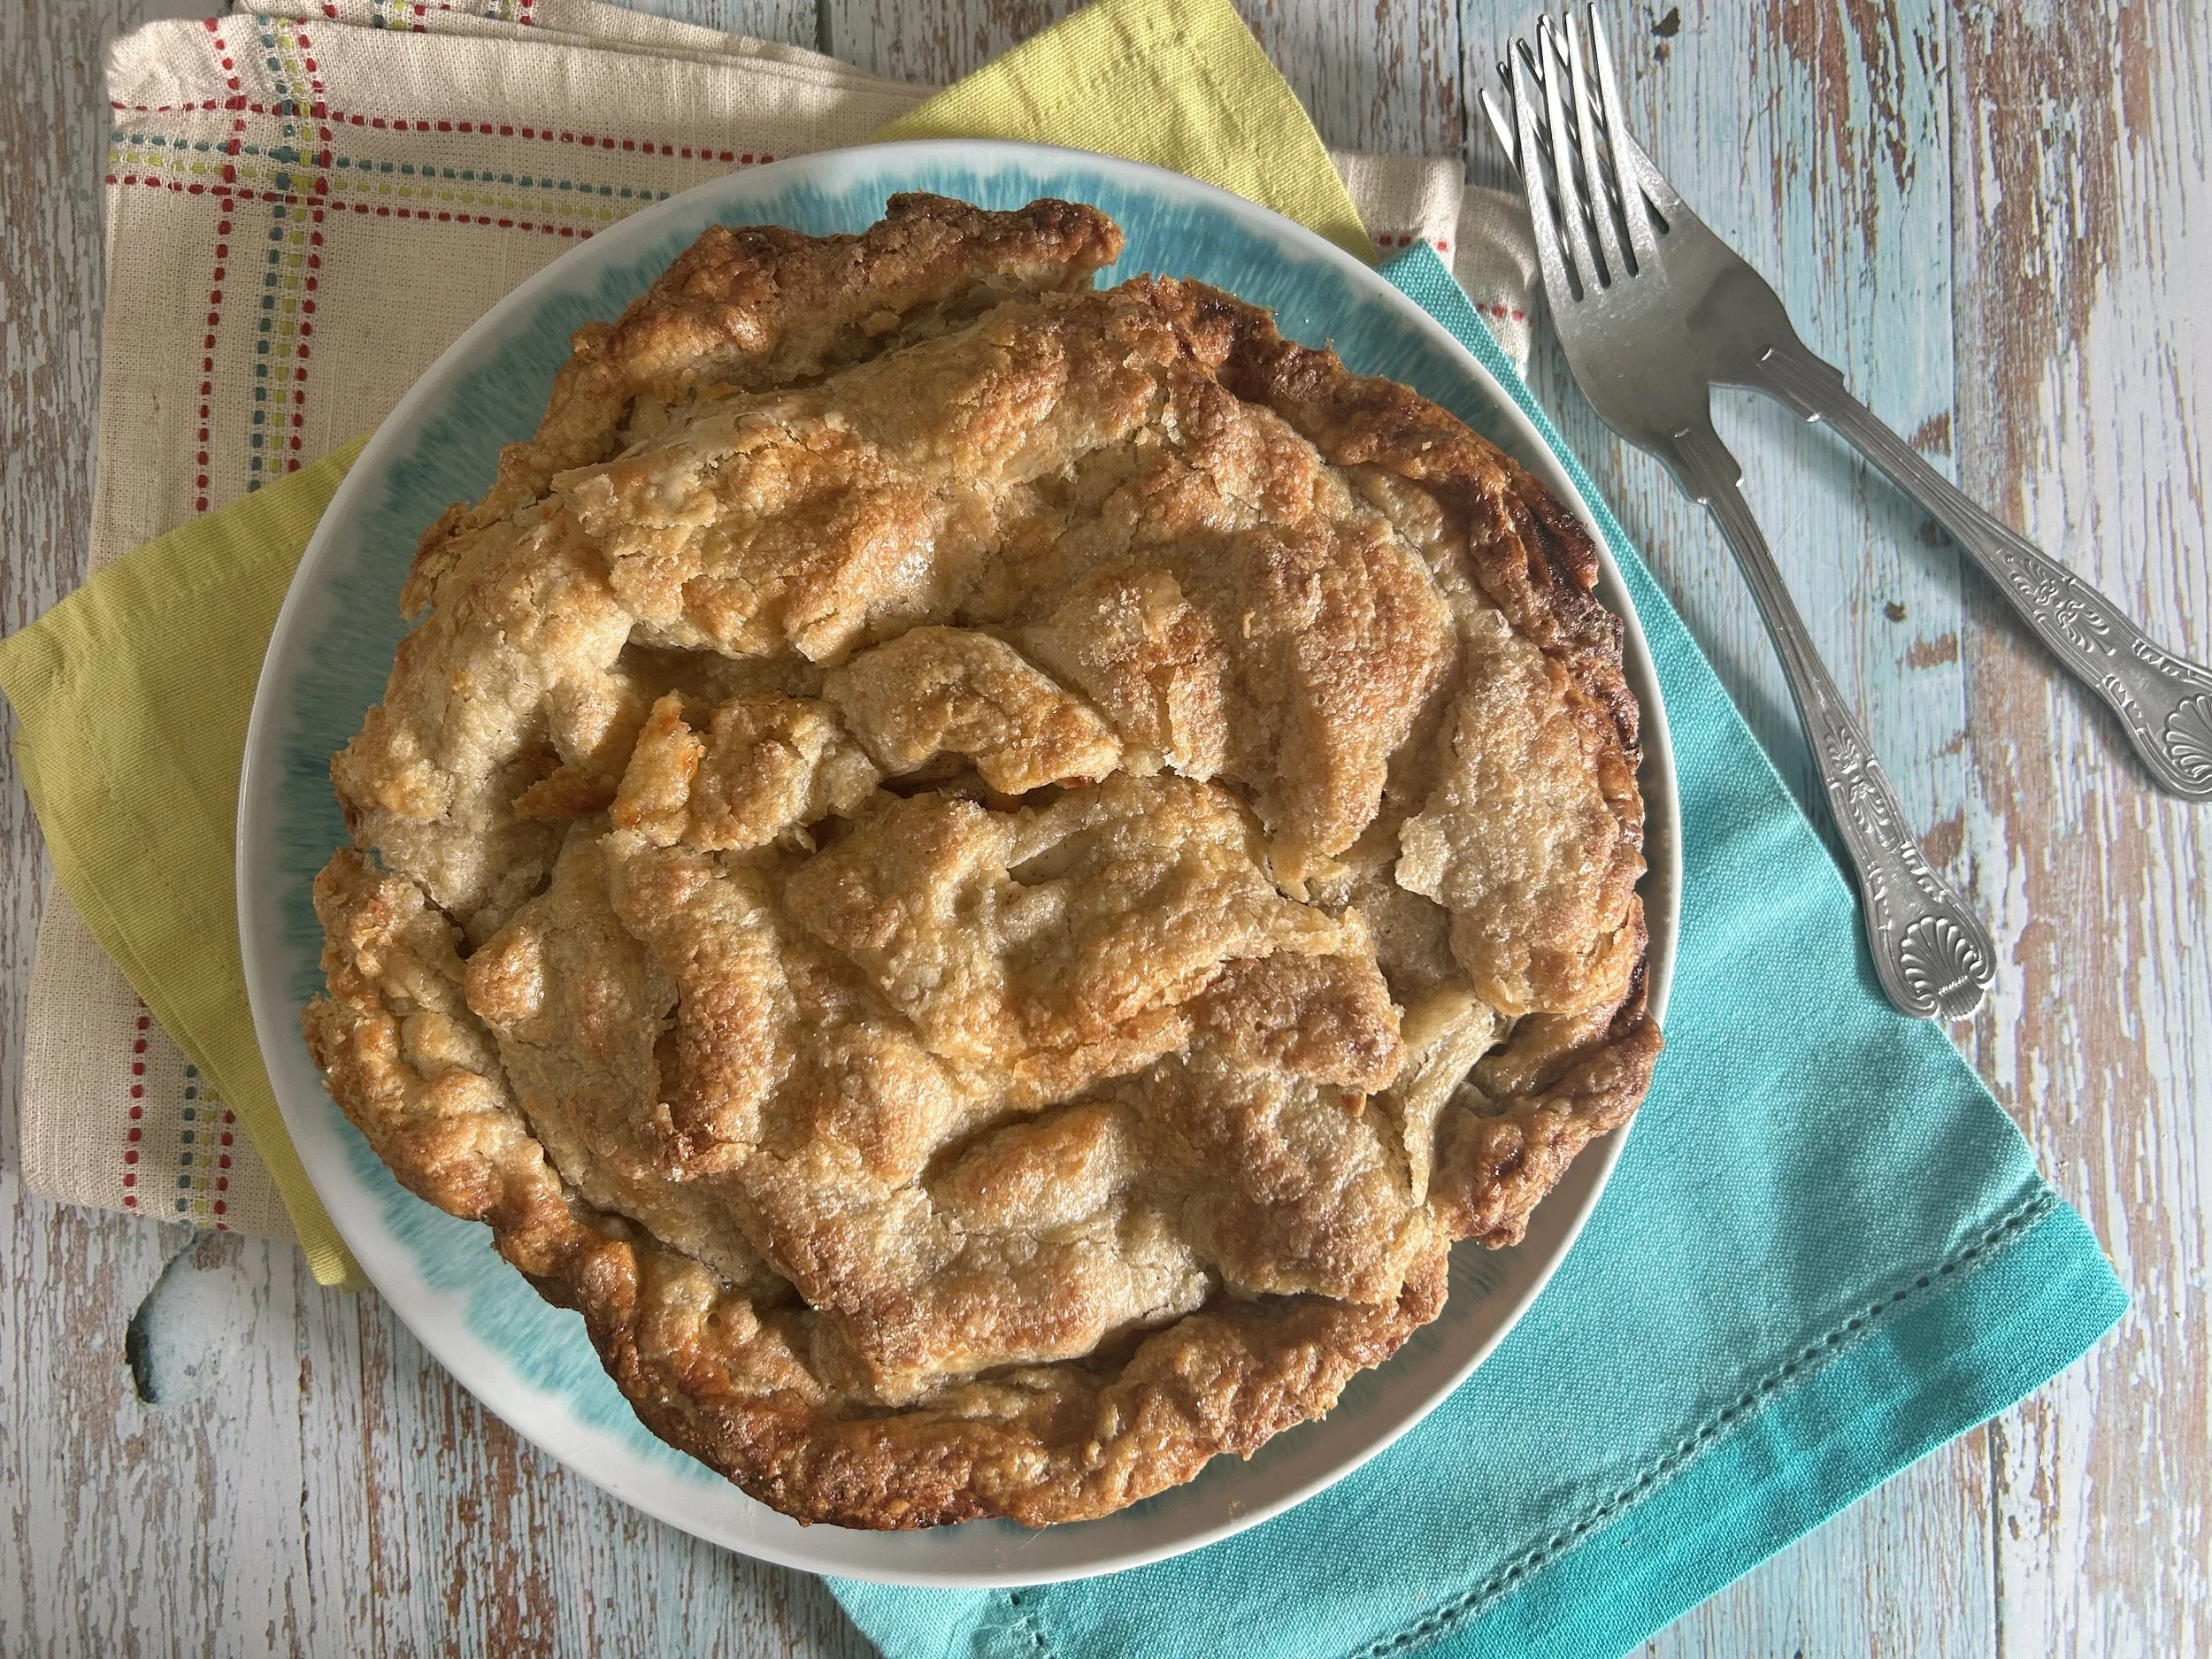
The pie should be a deep golden colour.
Let the pie cool for 1 hour before slicing it.
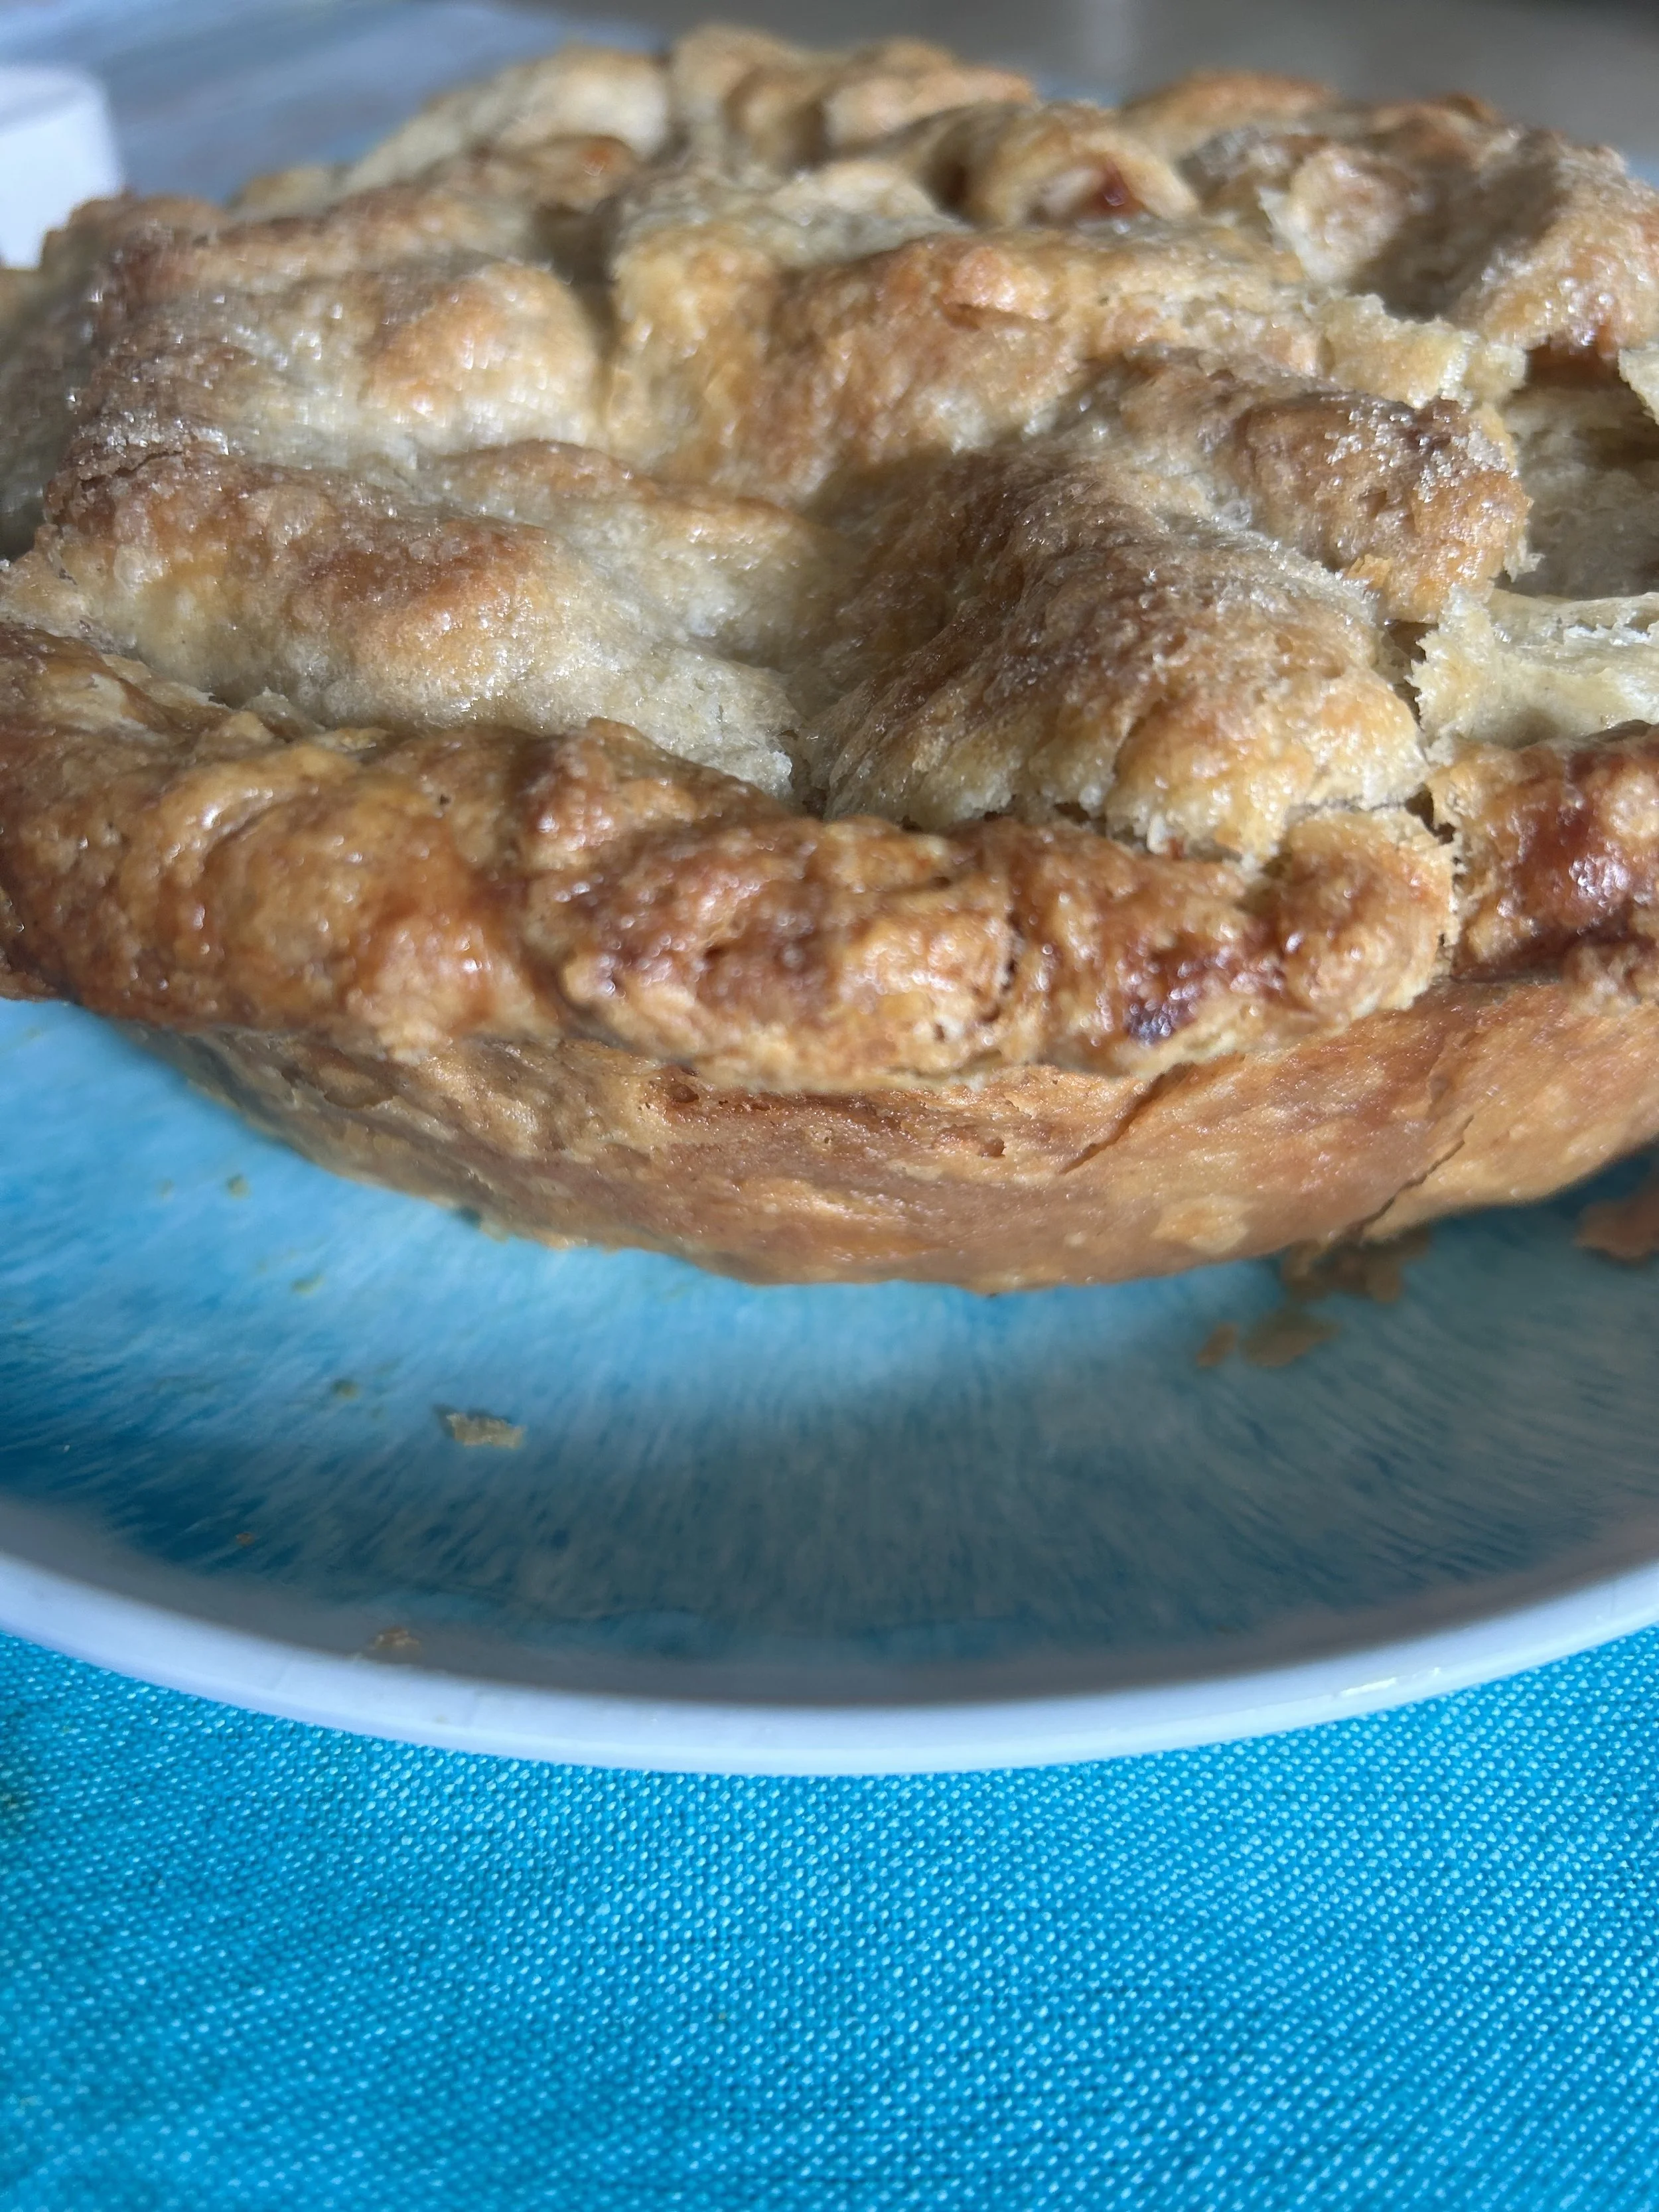
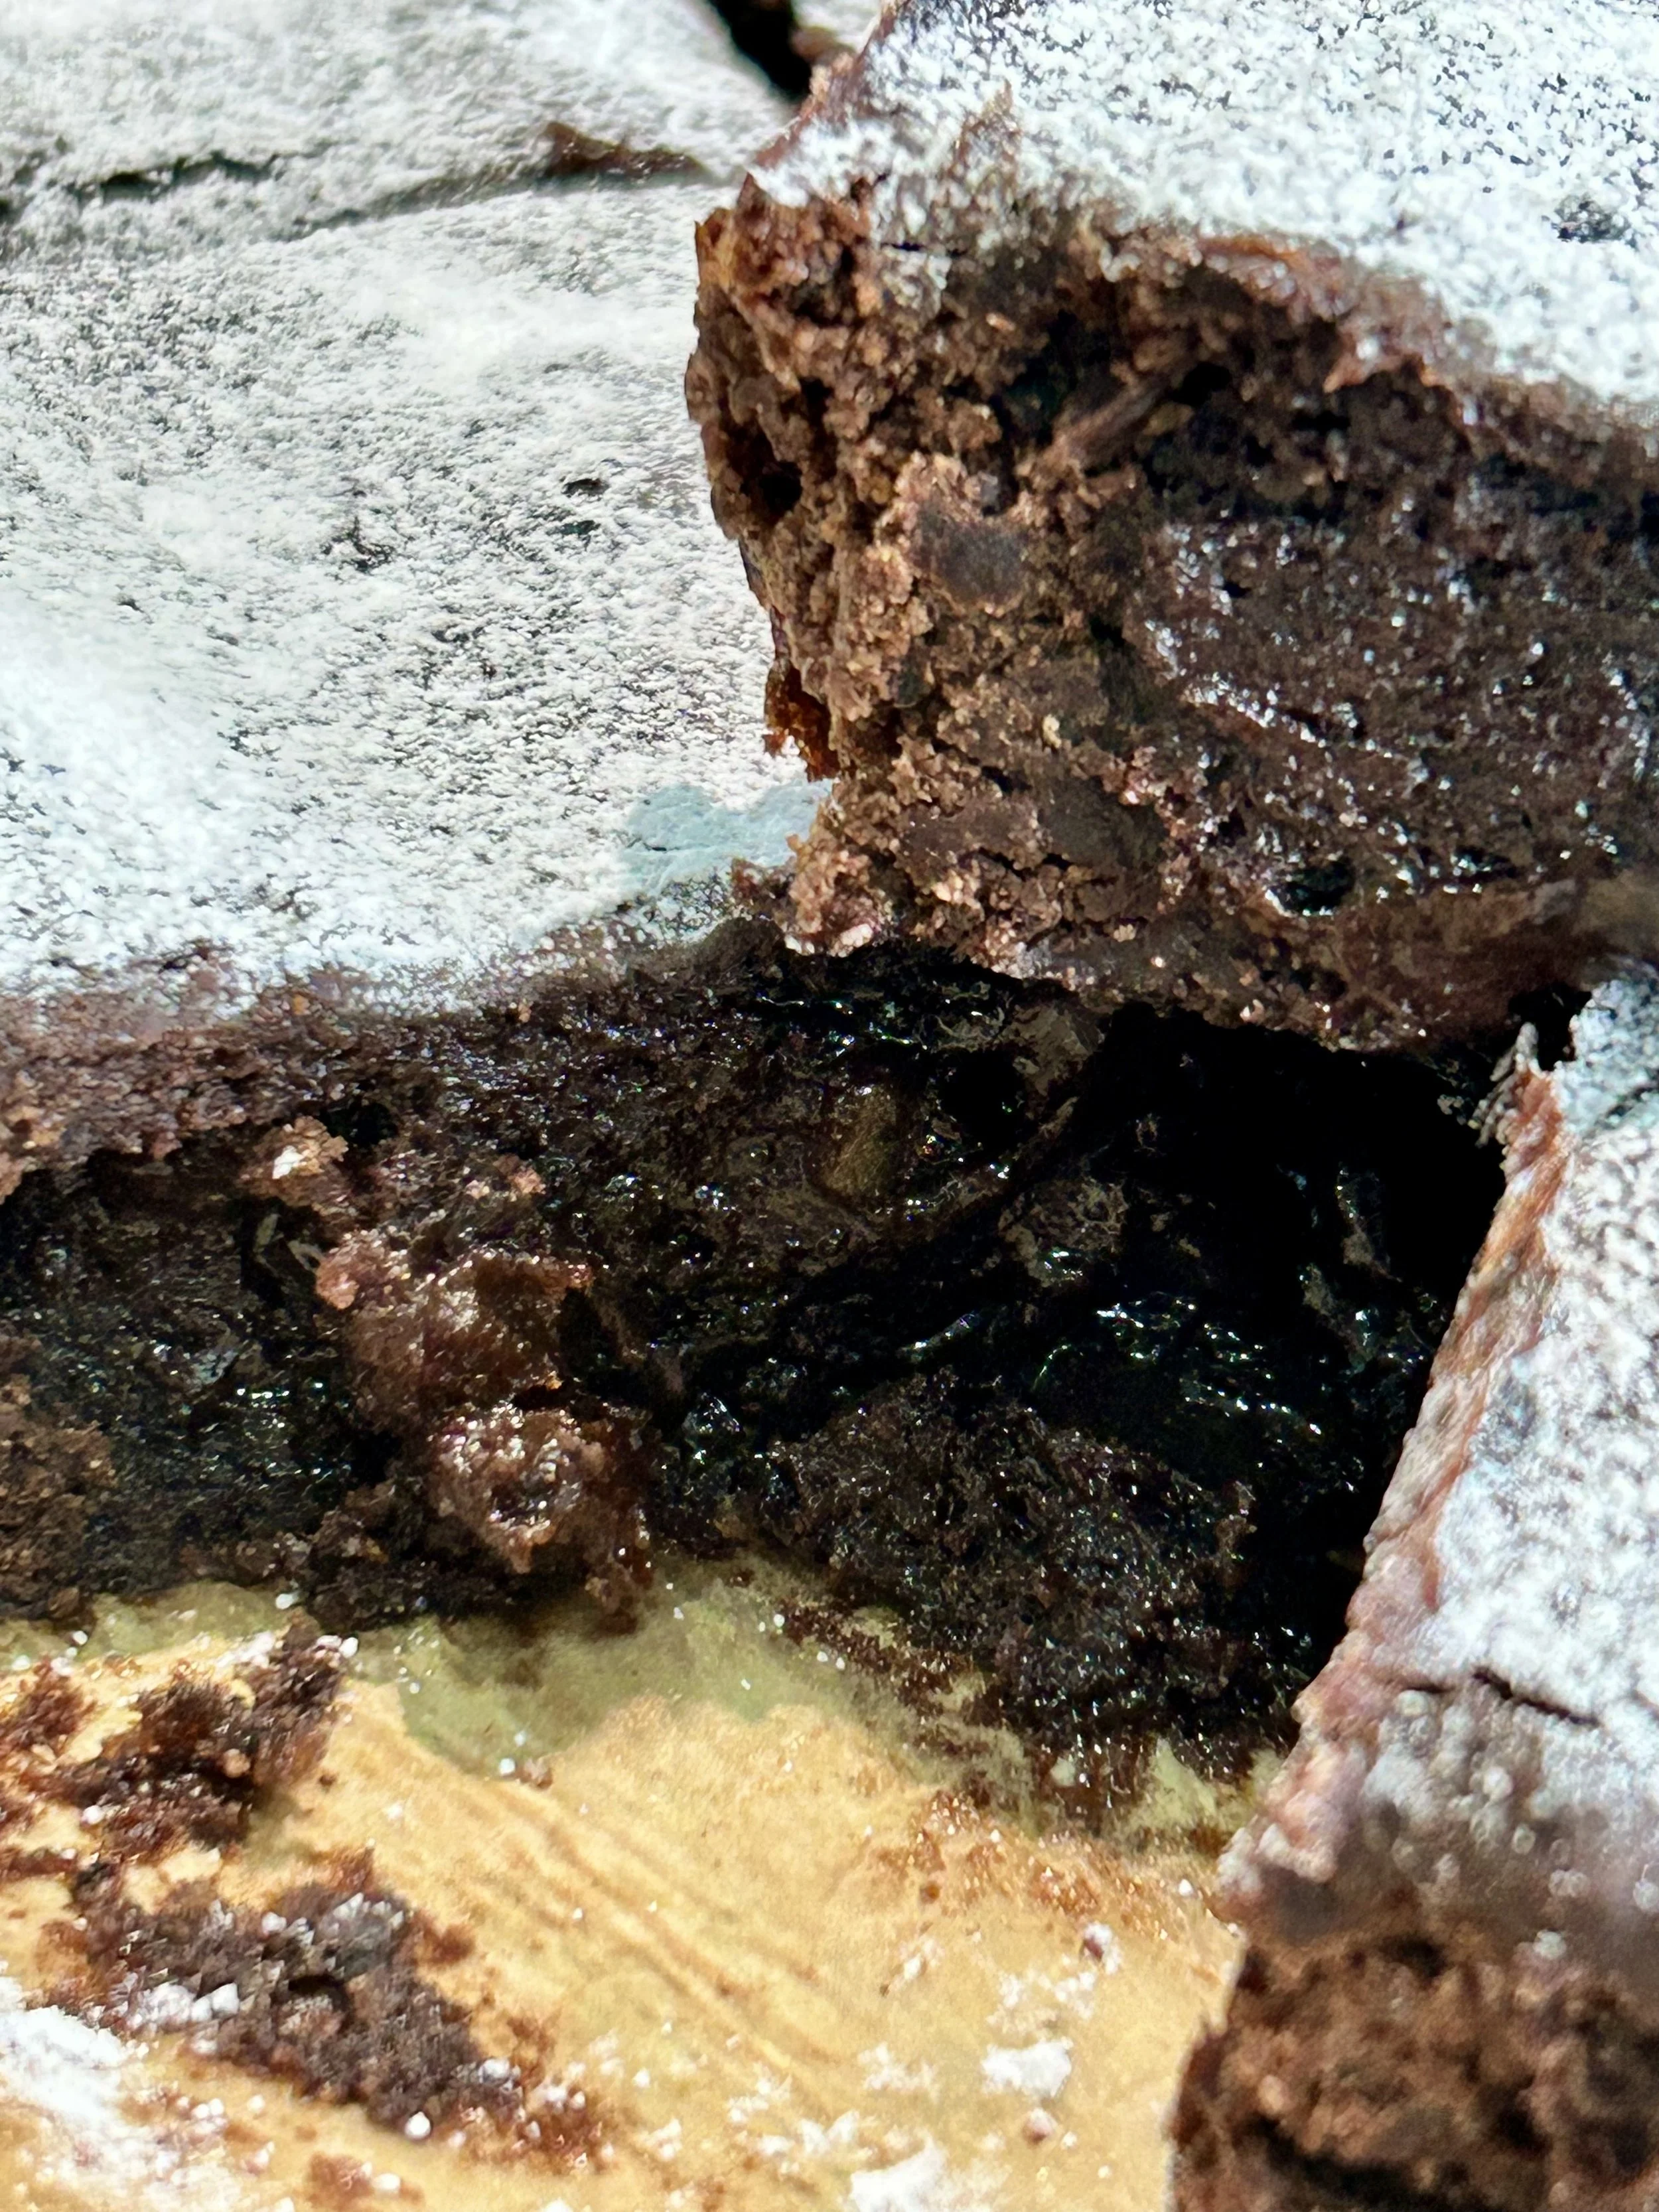
Deep and wonderful
Tip Box
Apples – The weight of the apples is approximate, so if once peeled and cored, the weight is more, don’t worry.
Salt – Only add a pinch of salt to the pastry if the butter used is unsalted.
Butter – 1) Size of butter – The pieces of butter
2) Why cold? – The cold water helps to keep the pastry cold which in turn helps to keep the butter cold.
Cold Water – How much cold water needed to bring the dough together will vary, so it is about how it looks and feels.
When brought together into a ragged dough, the pastry should be firm yet soft to the touch.
Pastry – 1) Mixing with a blunt knife – It’s important that the pastry is handled as little as possible, so using a blunt knife (such as a butter knife) will help do this.
As the pastry progresses, keep this ‘not handling’ in mind.
2) In order for the pastry to be flaky, have layers and rise in the oven, the pieces of butter MUST be kept whole and they MUST be cold when they go in the oven. It is the reaction of the cold butter releasing its moisture when it hits the heat of the oven which they cause steam. This steam pushes the up making layers. So, don’t knead or over handle the dough, at any stage, those pieces of butter MUST be kept in the pastry so you can still see them.
Want to make a bigger pie? – There is enough pastry in this recipe to make a pie around 9-10 inches. The recipe can be doubled up if you want to make a bigger pie.
Blind Baking – Blind baking is a term used to bake pastry without it looking at the heat, to do this the pastry must be covered and baking beans (or something else that is a heat conductor) is laid on top. This way, the pastry once t has its second bake, wont burn. The pastry on the bottom of the pie, should be crispy and dry, so no soggy bottom.