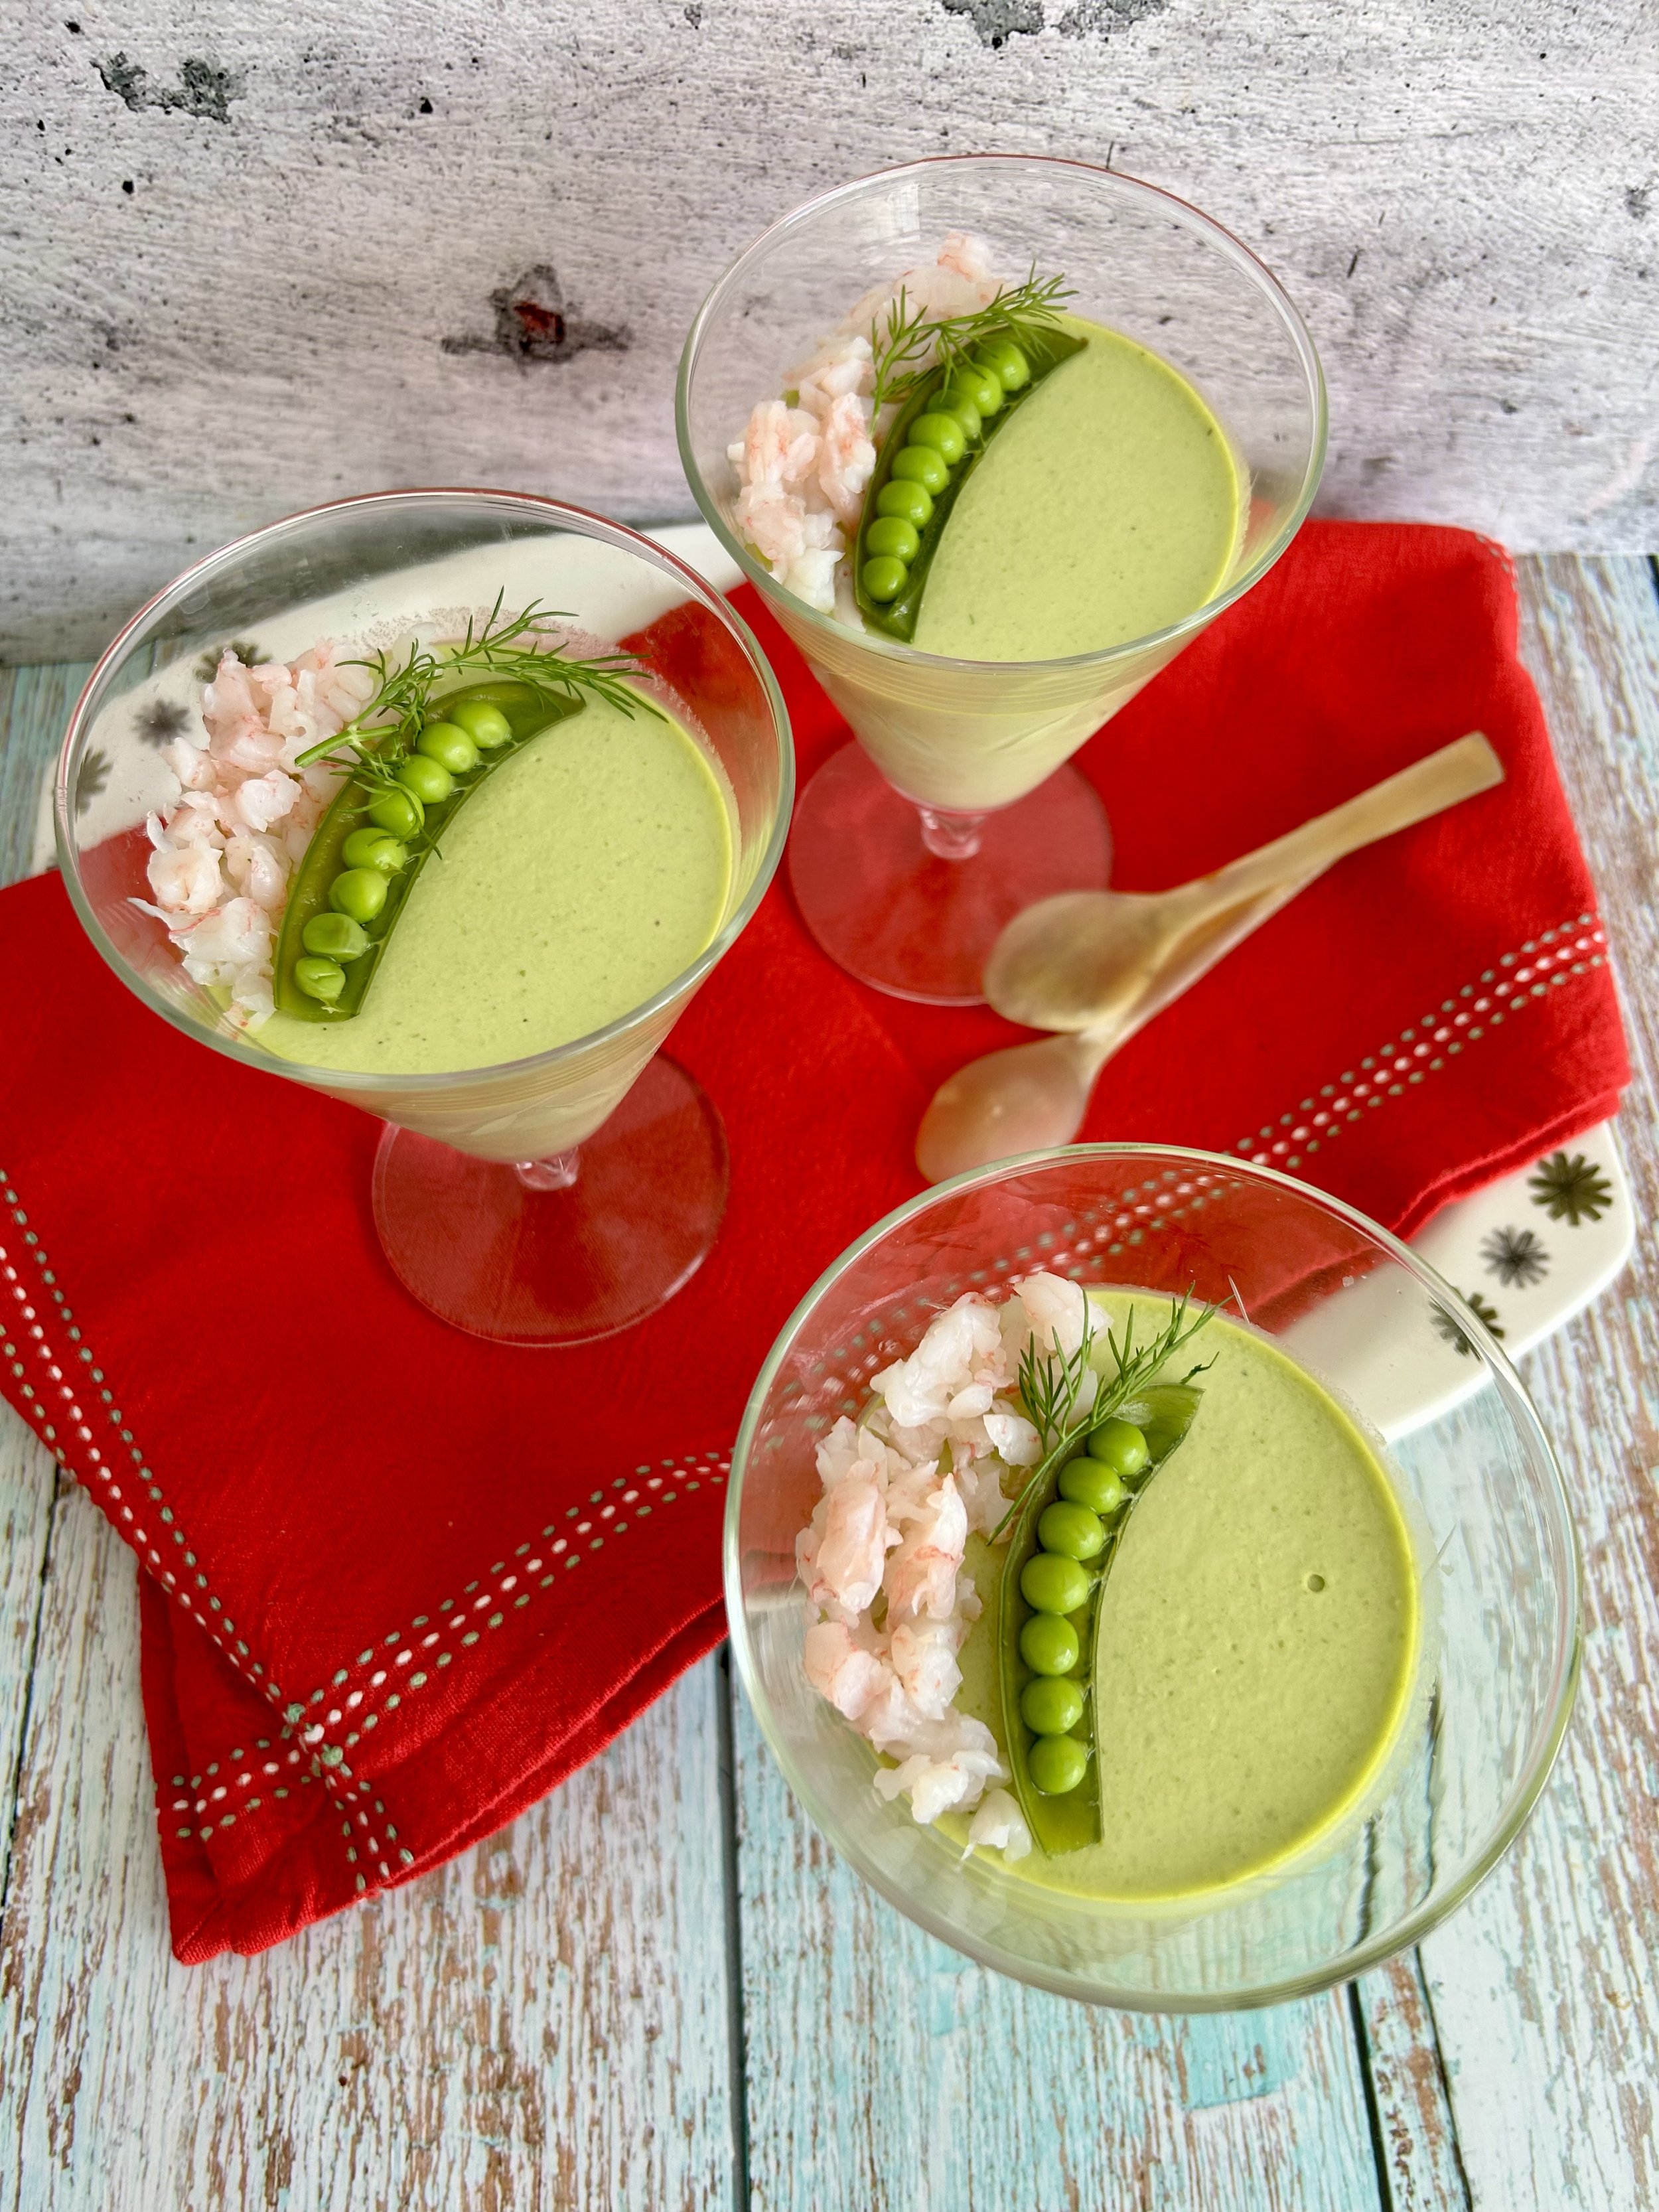
Egg Raviolo with Home Made Chive Ricotta & Tomato Water
A dish that looks amazing and complex, and yet when broken down into stages, isn’t as complicated as it seems. So, a wonderful dish to serve for a dinner party, if you want to wow your guests.
I made my own chive ricotta, but you don’t have to. Miss this stage out and buy some nice ricotta, chop up the chives and mix them in.
Some of the things in this dish need to be made ahead, and the one that takes the longest is the tomato water, so think about your timings and get ahead of the preparation game. Start the tomato water the day before, leaving it to drip into a bowl overnight.
And don’t think that all the tomato pulp should be thrown away, that pulp is stacked with flavour.
When I make this dish, I put the leftover pulp in a freezer bag and into the freezer.
I take it out, defrost and use it in sauces for pasta, lasagnes or even for a base for a great
tomato soup.
Go on, give it a go and enjoy your sweet life!

A nice runny yolk adds richness o the tomato water
Some things need to be made ahead
What You Need
Chive Ricotta
1.8 Litre Full Fat Milk
2 tbsp Fresh Squeezed Lemon Juice
Malden Sea Salt – To Taste – See Tip Box
1 Bunch Fresh Chives – Finely Chopped
If the ricotta is to thick to pipe, add a little more whey.
Tomato Water
1 kg Large Vine Grown Tomatoes, Roughly Chopped – See Tip Box
1 Large Shallot Roughly Chopped
Good Splash of Hot pepper Sauce
Good Splash of Worchester Sauce
Malden Sea Salt
Ground Black Pepper
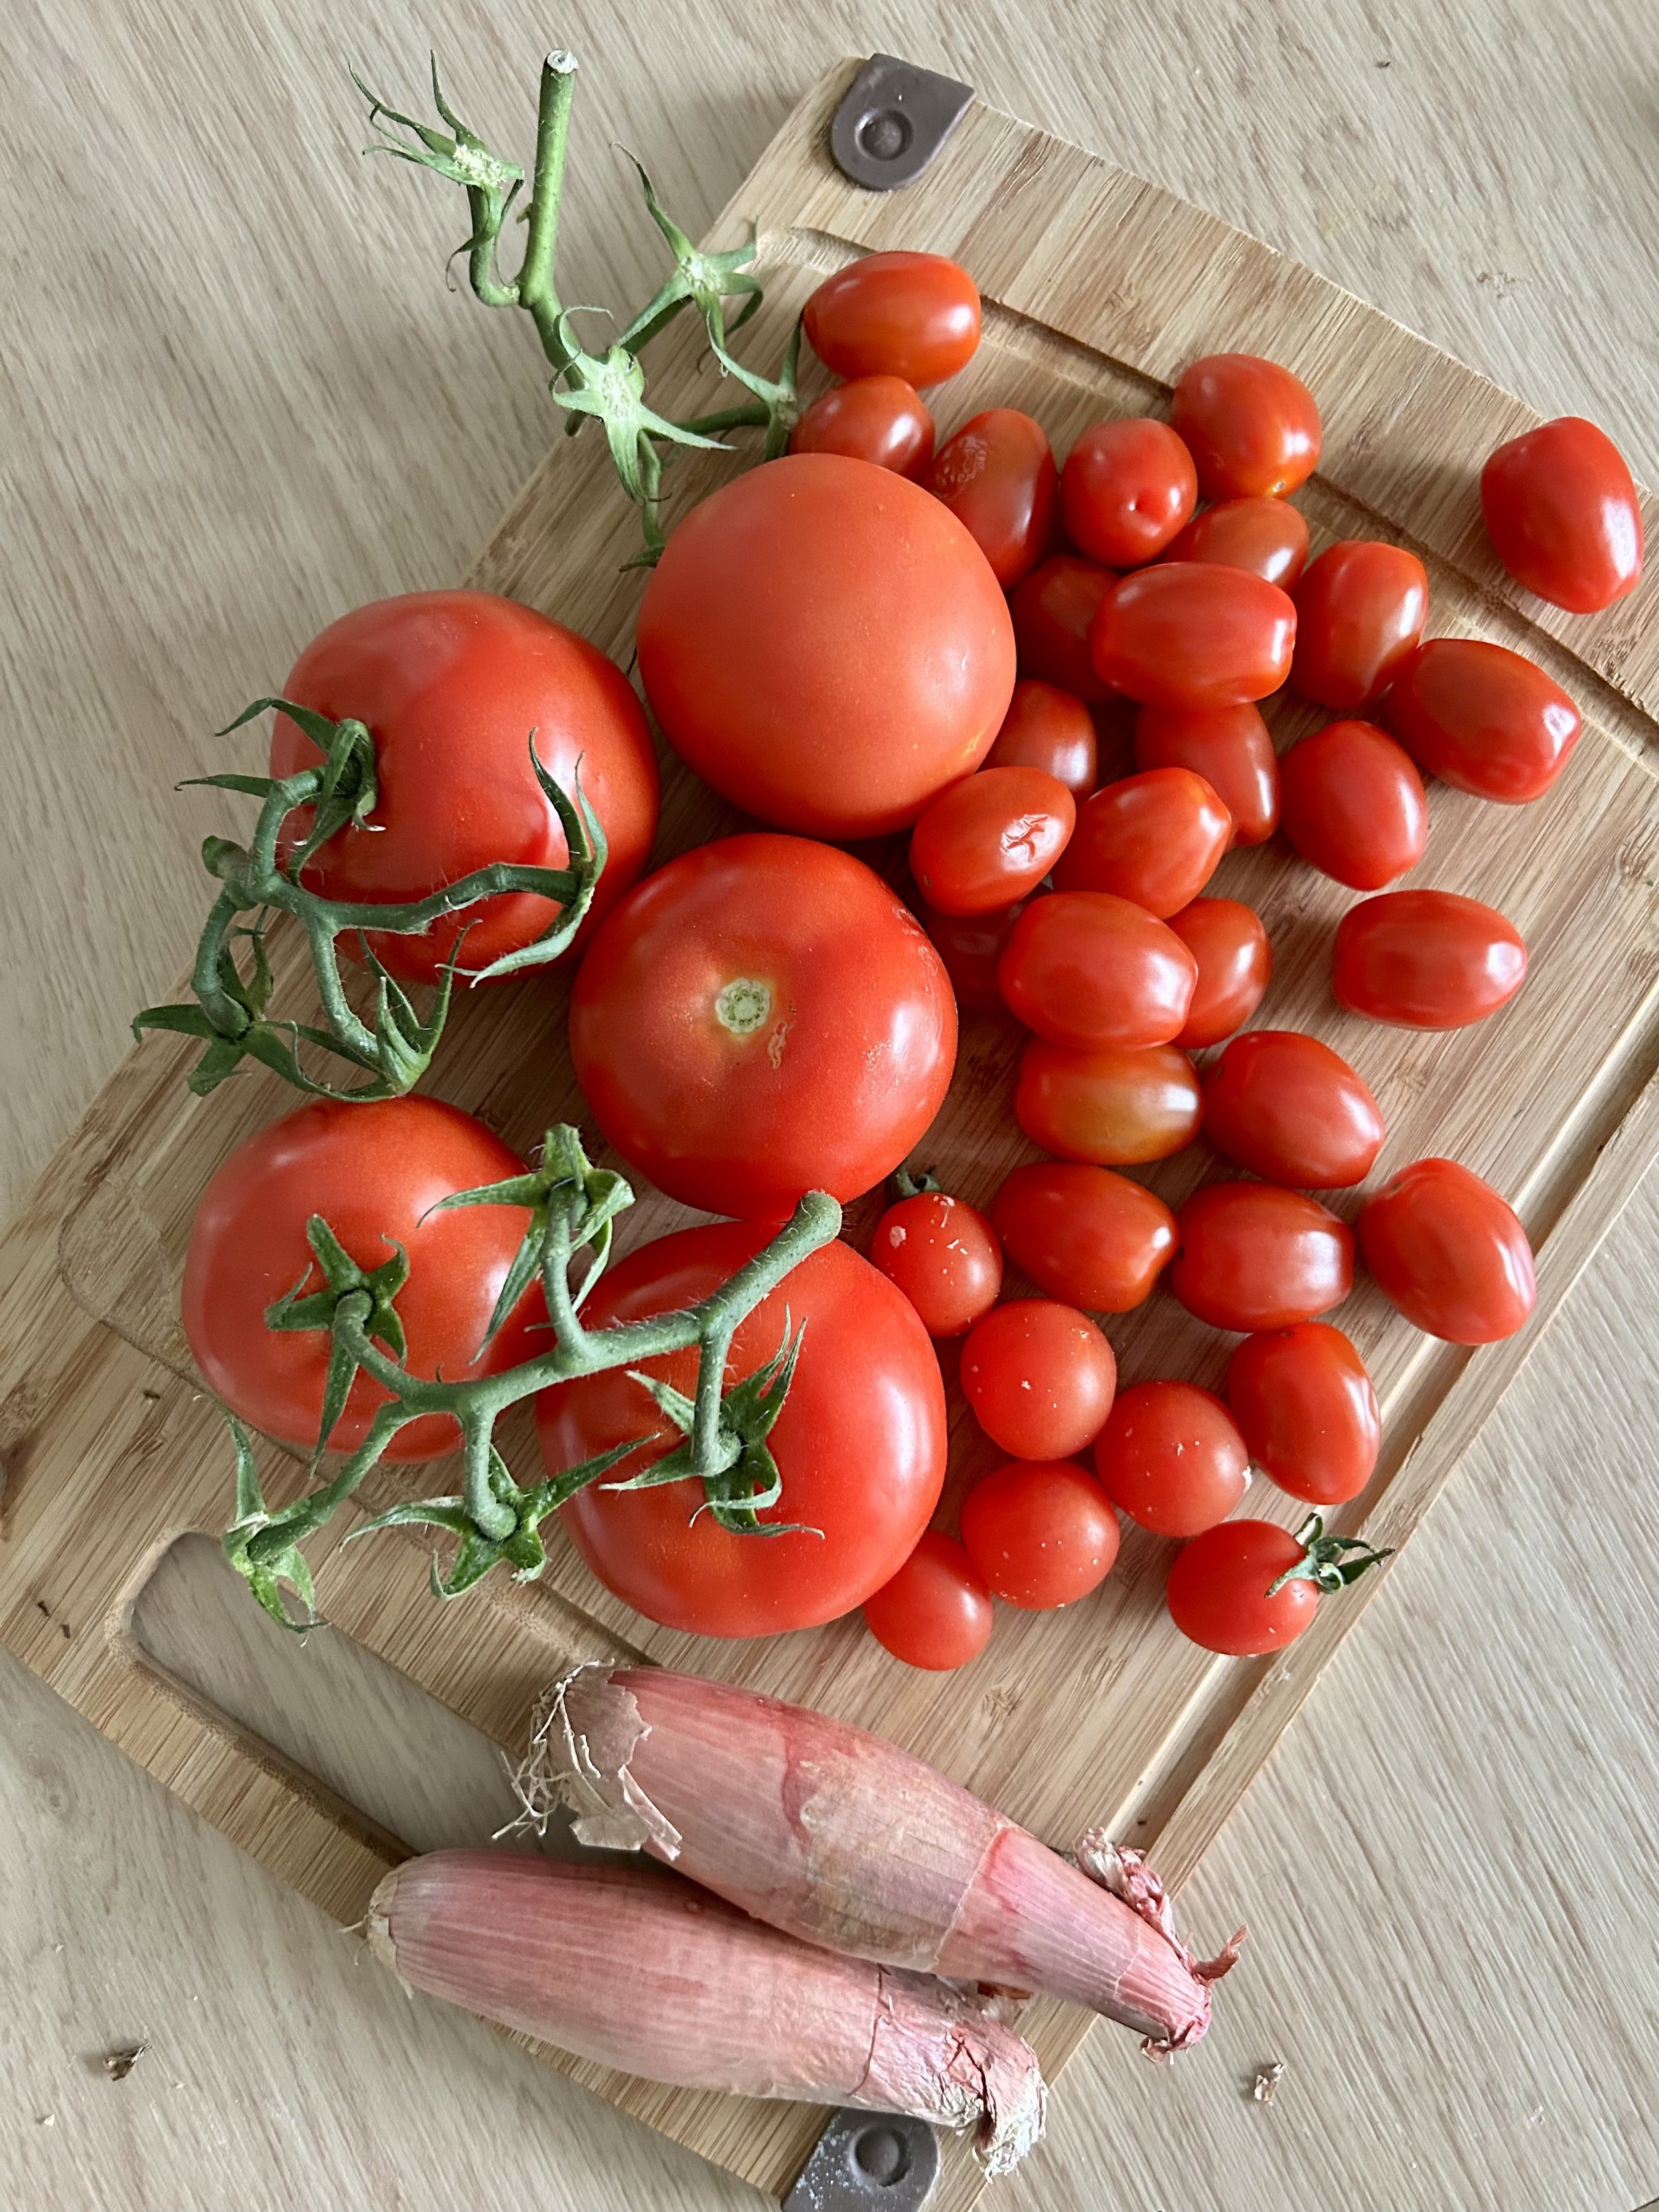
If you can smell the tomatoes they may be full of flavour
Pasta
250g 00 Flour
250g Plain Flour
6 Large Eggs
Malden Sea Salt
Egg Yolks From Large Eggs
For Serving
4 Large Tomatoes Very Thinly Sliced
Chopped Pancetta
Chives – Very Finely Chopped

Sit the cooked raviolo on three thin slices of tomato
How It’s Done
Tomato water
Place all the ingredients for the tomato water into a food processor and whizz it up until it becomes a tomato mush.
Place the mush into a fine mesh sieve, and sit it over a bowl. Make sure the bowl is big enough so the sieve won’t be able to sit in the liquid that comes out of the tomatoes.

Whizz until the tomatoes etc become a mush
Let the tomatoes sit until all the liquid drains into the bowl below. It’s very important not to try to help the liquid drain by pushing it through the sieve – See Tip Box
I let the tomatoes sit overnight so all the juice drains naturally out of the tomato mixture.

Let the tomato mush sit, untouched, to drain through the sieve.
One the liquid has drained out of the tomatoes, what’s left is a tomato pulp which is full of flavour don’t throw this out – See Tip Box
Set the tomato water side in the fridge until needed.
the tomato water should be clear but full of flavour. .
Chive Ricotta
Pour the milk into a saucepan and using a thermometer to check the temperature, let it come heat up slowly until it gets to 85c.
Once it reaches the right temperature, remove it from the heat, and pour in the lemon juice.
Stir the milk until it separates into the curds and whey.
Let it sit for around 10 minutes.
While it sits, line a fine mesh sieve with cheesecloth.
Slowly pour the mixture into the cheesecloth and let it sit and drain through the cloth and sieve – Don’t try to help it by pushing it through – See Tip Box
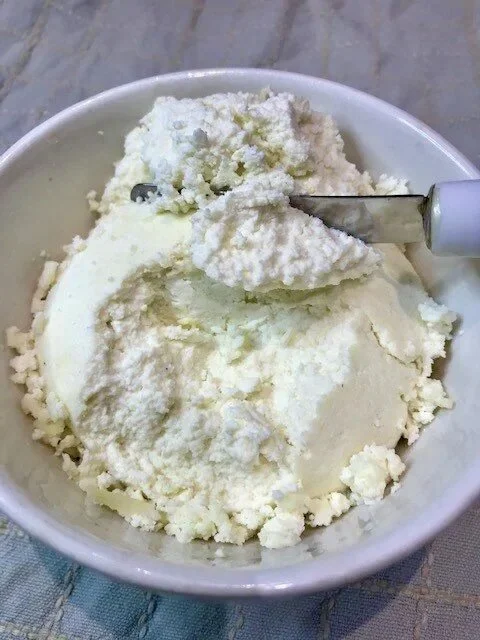
Pour the mixture into the cheesecloth and let it sit until the ricotta reaches the preferred texture. The longer you let it strain in the cloth, the firmer the ricotta will become. Be patient

Mix the chopped chives with the ricotta.
Don’t throw out the whey. – See Tip Box
Once the ricotta is at the right consistency, (it should be the thick enough to be able to pipe it but not too dry) mix in the chopped chives.
Put the chive ricotta into a piping bag, and set it in the fridge until needed.
Pasta
Crack the eggs into a bowl and make sure there is no shell.
Set the eggs aside.
Place both the flours and a pinch of salt into the bowl of an electric mixer and using a dough attachment, let it run for a few seconds to mix the flours together.
Make a well in the flour mixture and pour the eggs into the flour.
Switch the machine on to a medium speed, and let it run until all the flour is mixed in with the eggs.
Take time mixing and keep stopping the machine to move more of the flour that collects at the sides, into the egg.
Once everything comes together into a dough, remove it from the machine on to a lightly floured worksurface, and begin to knead it.
Knead the pasta dough by hand, for around 8-10 minutes, until it becomes smooth and elastic – See Tip Box
Once the pasta dough is ready, wrap it in cling film and set it aside in the fridge for at least 30 minutes.
Cut the ball of pasta in half and wrap the half that isn’t going to be used in cling film and set it aside to use later or to freeze for another time – See Tip Box
Dust the work surface with a little flour and knead the dough for a short while, just to get it back to being pliable – a couple of minutes.
Cut the pasta half in half again, and wrap one half in cling film and set it aside.
Assemble your pasta machine and set it to the largest setting (on my machine it is zero).
Flatten the piece of pasta a little, and feed the past through the machine.
When it has run through once, fold the pasta over a few times so it fits back in the pasta machine.
Do this twice more, still on the widest setting.
Once it has run through the widest setting, adjust the setting to the next setting up, and run the pasta through this.
Repeat this, adjusting the settings after each run through, until the pasta is thin enough to suit you – See Tip Box
Lay the pasta sheets on the work surface which has been dusted with flour.
Set them aside until needed

Lay the sheets of pasta on a floured surface
Assembly
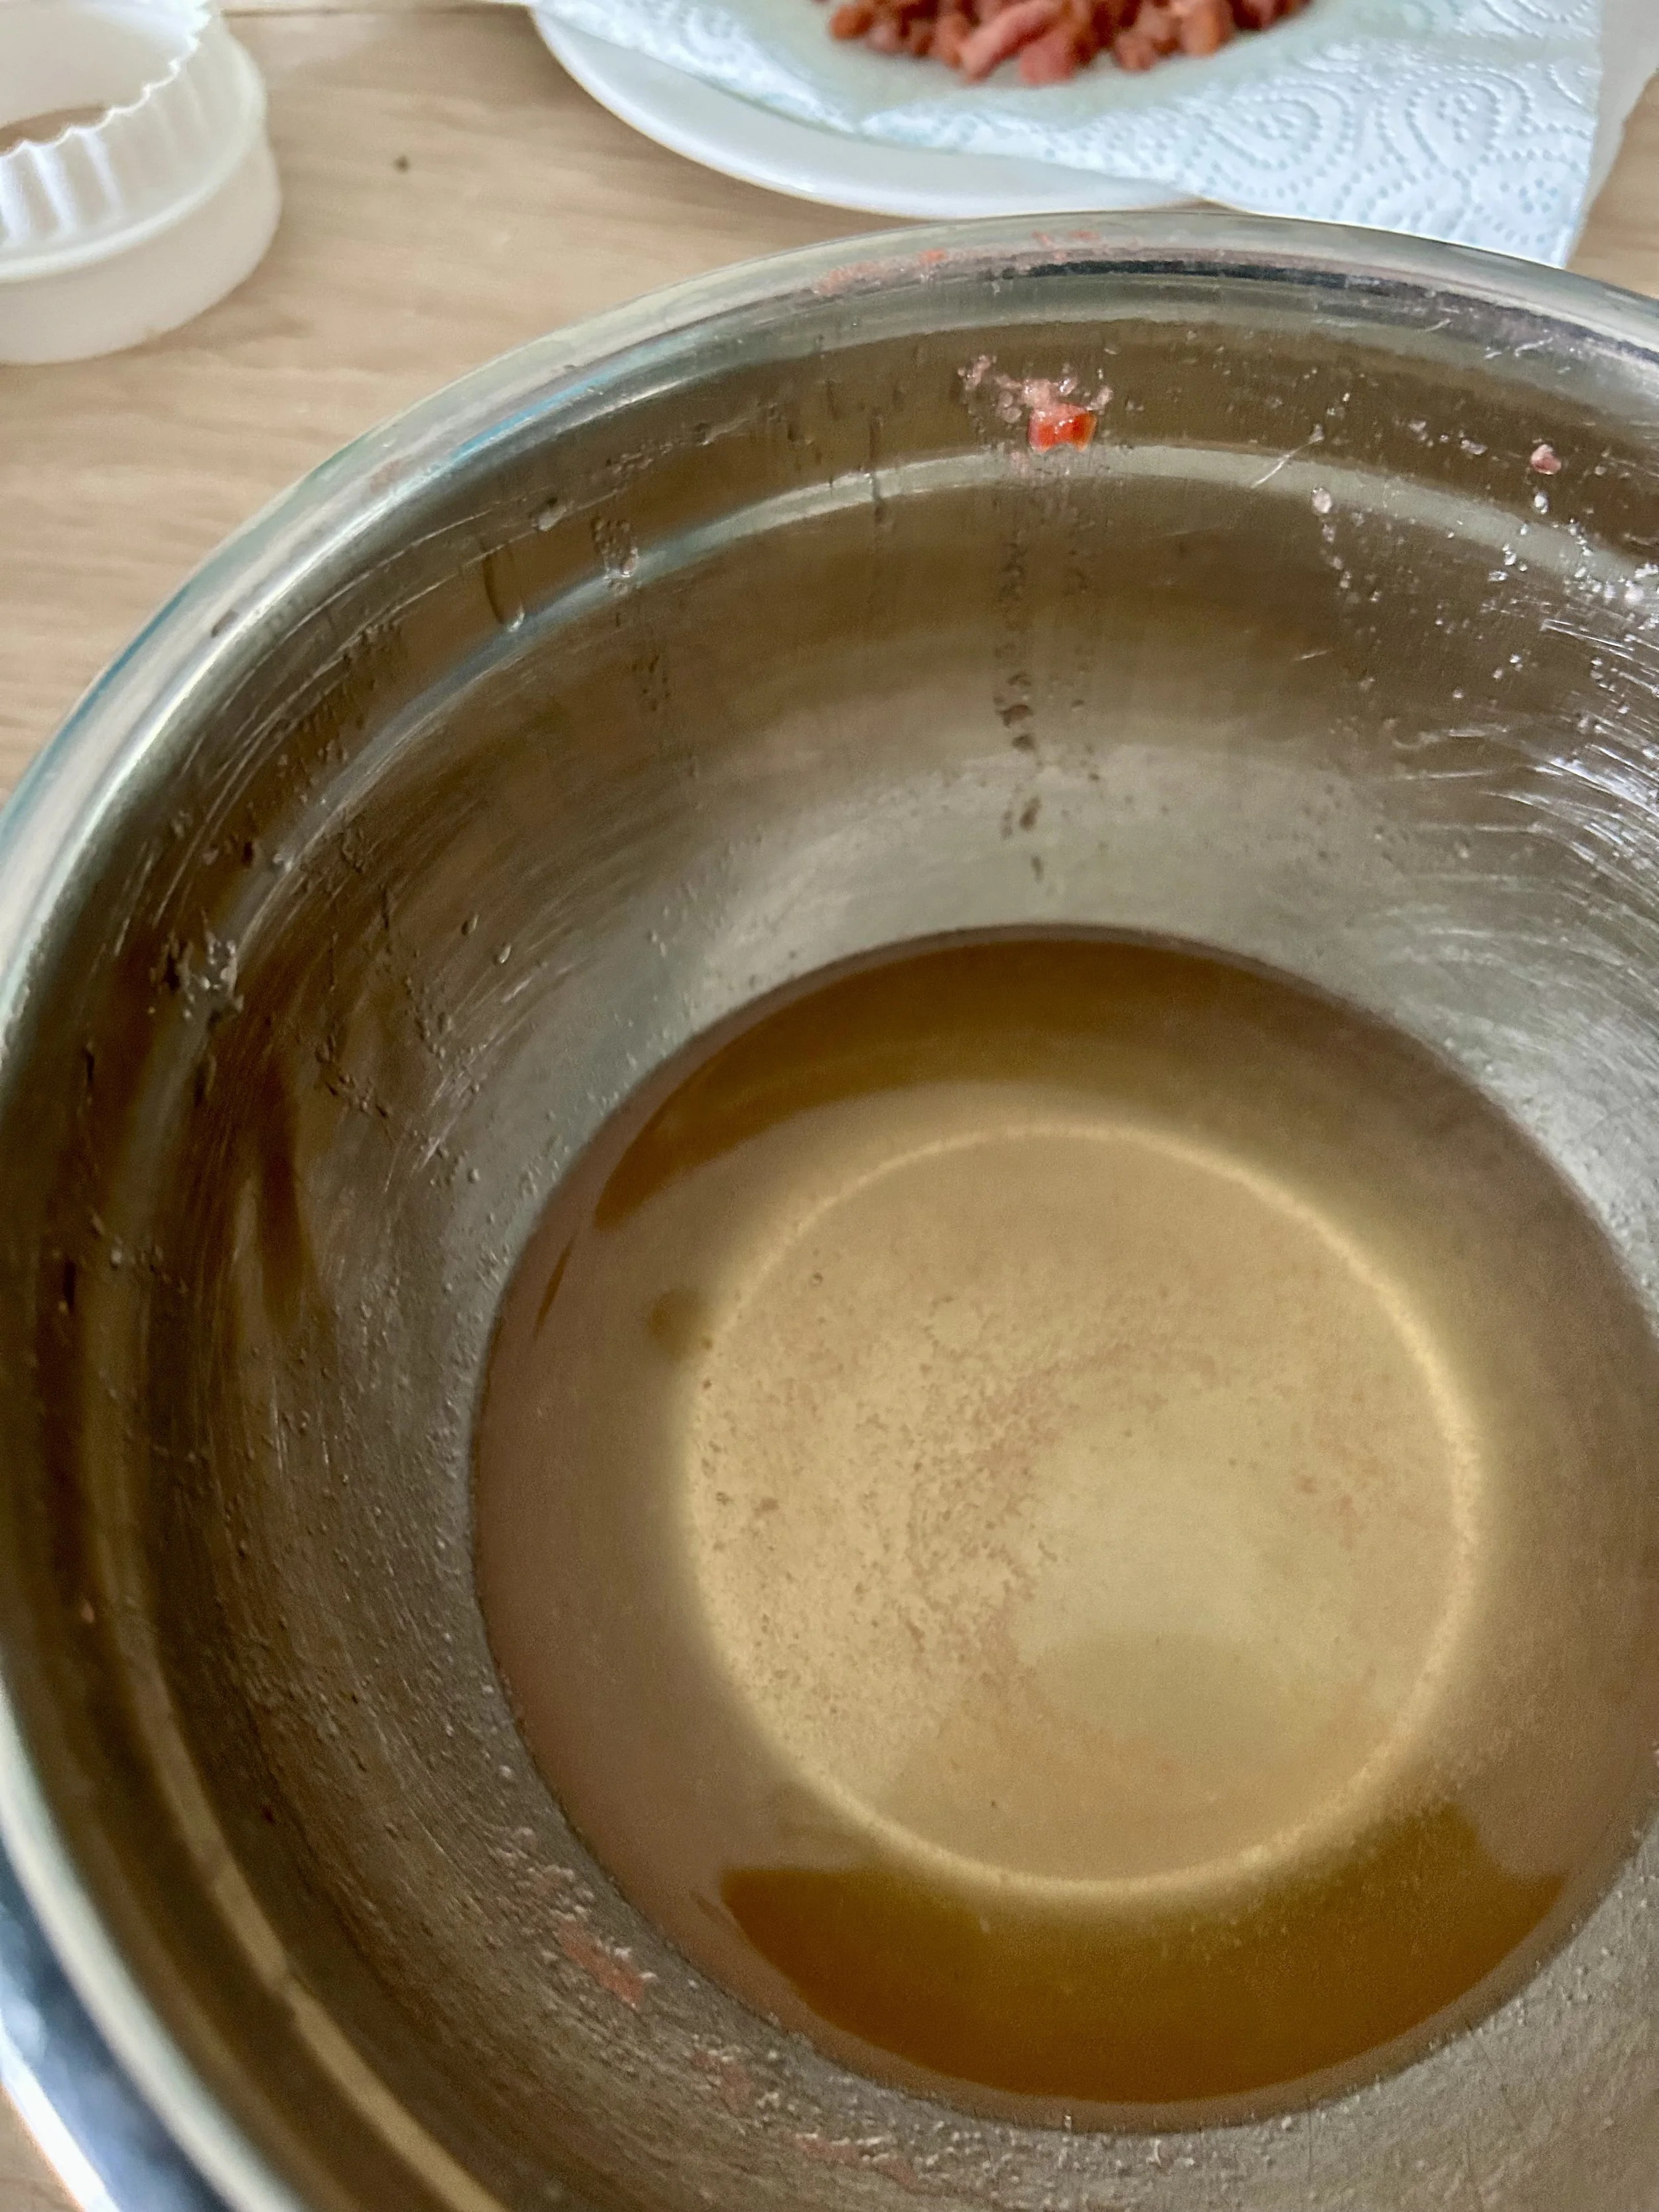
Put the pancetta into a hot pan with a couple of spoonful’s of oil and let them cook until they become crispy.
Once crispy, remove them from the pan and lay them on kitchen paper to drain.
Set them aside until needed.

Drain the pancetta really well.
Lay one sheet of pasta on the flour dusted worksurface.
Cut the tip off the piping bag that holds the ricotta, and pipe circles on the pasta that are big enough to hold an egg yolk in its centre.
Break one egg in half, and drain the egg white into a container and gently place the egg yolk into a saucer.
Using a spoon to pick up the egg yolk, very gently lay the egg yolk in the centre of the piped ricotta.
Repeat this until you have the amount you want.

Gently lay a sheet of pasta on top and seal it
Dip your finger into some water and very gently, rub a little of the water around the piped ricotta.
Take a second sheet of pasta, and very gently, lay it over the top of the egg yolks and first pasta sheet, making sure to push down the top pasta in between each mound.
Once the whole of the sheet is covered with the top sheet of pasta, very gently use a finger to seal each mound – This is very important – See Tip Box
Find a round cookie cutter that is approx. 1/4 inch wider than the edge of the mound and cut out the raviolo.
Gently lay the cut out raviolo onto a floured covered sheet.

Set them aside
When ready to cook the pasta, bring a large pot of water to the rolling boil and add salt.
Using a large spoon, lay the raviolo in the boiling water and let them cook for 2-3 minutes.
Once cooked, use a large spoon to remove the raviolo onto a piece of paper towel before laying on top of very thin slices of tomato.
Arrange some pieces of crispy pancetta around the ravioli.
Pour a few spoonful’s of the tomato water around the ravioli.
Serve at once.

A few tablespoons of the tomato water on the plate
Tip Box
To Taste – To taste means what suits you. So, when adding salt and pepper, be very careful.
Tomatoes – There needs to be a lot of flavour in the tomato water and the only way to make this happen is to have tomatoes that a full of flavour. Vine ripened tomatoes is a good way to start. My rule of thumb is, if when I push my nose up to the tomatoes, I can smell tomatoes, then they have flavour. So often those in plastic from a supermarket, have no flavour, or smell, at all.
Tomato Water – To get a clear tomato water, instead of one that is cloudy, It’s really important not to try to hurry it up. Pushing the tomato mush through the sieve will make the water very cloudy, so even though it takes time, this has to sit until what’s left it a clear tomato water.
Ricotta – 1) Draining – Don’t try to push it through the muslin/cheese cloth, let it drain without any help.
2) The longer it drains the drier the cheese will be.
3) If the ricotta is too firm, mix in a few tablespoons of the whey to get it to the right consistency.
4) Whey – It’s a great source of protein. Use it to add protein to smoothies.
Store it in the fridge for up to four days
Pasta – 1) Knead the pasta by hand for around 8-10 minutes- You can tell when the pasta dough is ready when:
Smooth and elastic: The dough should be smooth to the touch, not sticky or overly dry.
Springs back: When you press it with a finger, the dough should bounce back.
Cohesive: It should hold together well.
2) Freeze – Pasta is great to freeze, so once made, and before rolling out, wrap it several times in cling film and freeze it. Defrost it completely before using it.
3) Thickness for this recipe – Getting the correct thickness for the pasta is important. The pasta sheets need to be thick enough to so that when its being cooked it won’t break apart and that it will hold the yolk safely. But it shouldn’t be so thick that when one piece is on top of the other and cooked, it’s able to cook through and isn’t chewy.
4) Sealing the pasta – Sealing around the egg and ricotta is really important. So spend soe time doing this or you may have aa pot of boiling water and scrambled egg.